This is a log of my plan to build a portative organ, following the series by nippocast. I have no prior experience with any of this, so it's learning from top to bottom.
Total time: 3 hours
After shopping and basic training on the tools at a local Maker space, it's time get started. For now, at least, I'm using Oak for the block and cap, and Poplar for the body (as being easily available.)
My first step was to convert all of Gianmaria's metric measurements into US Customary.
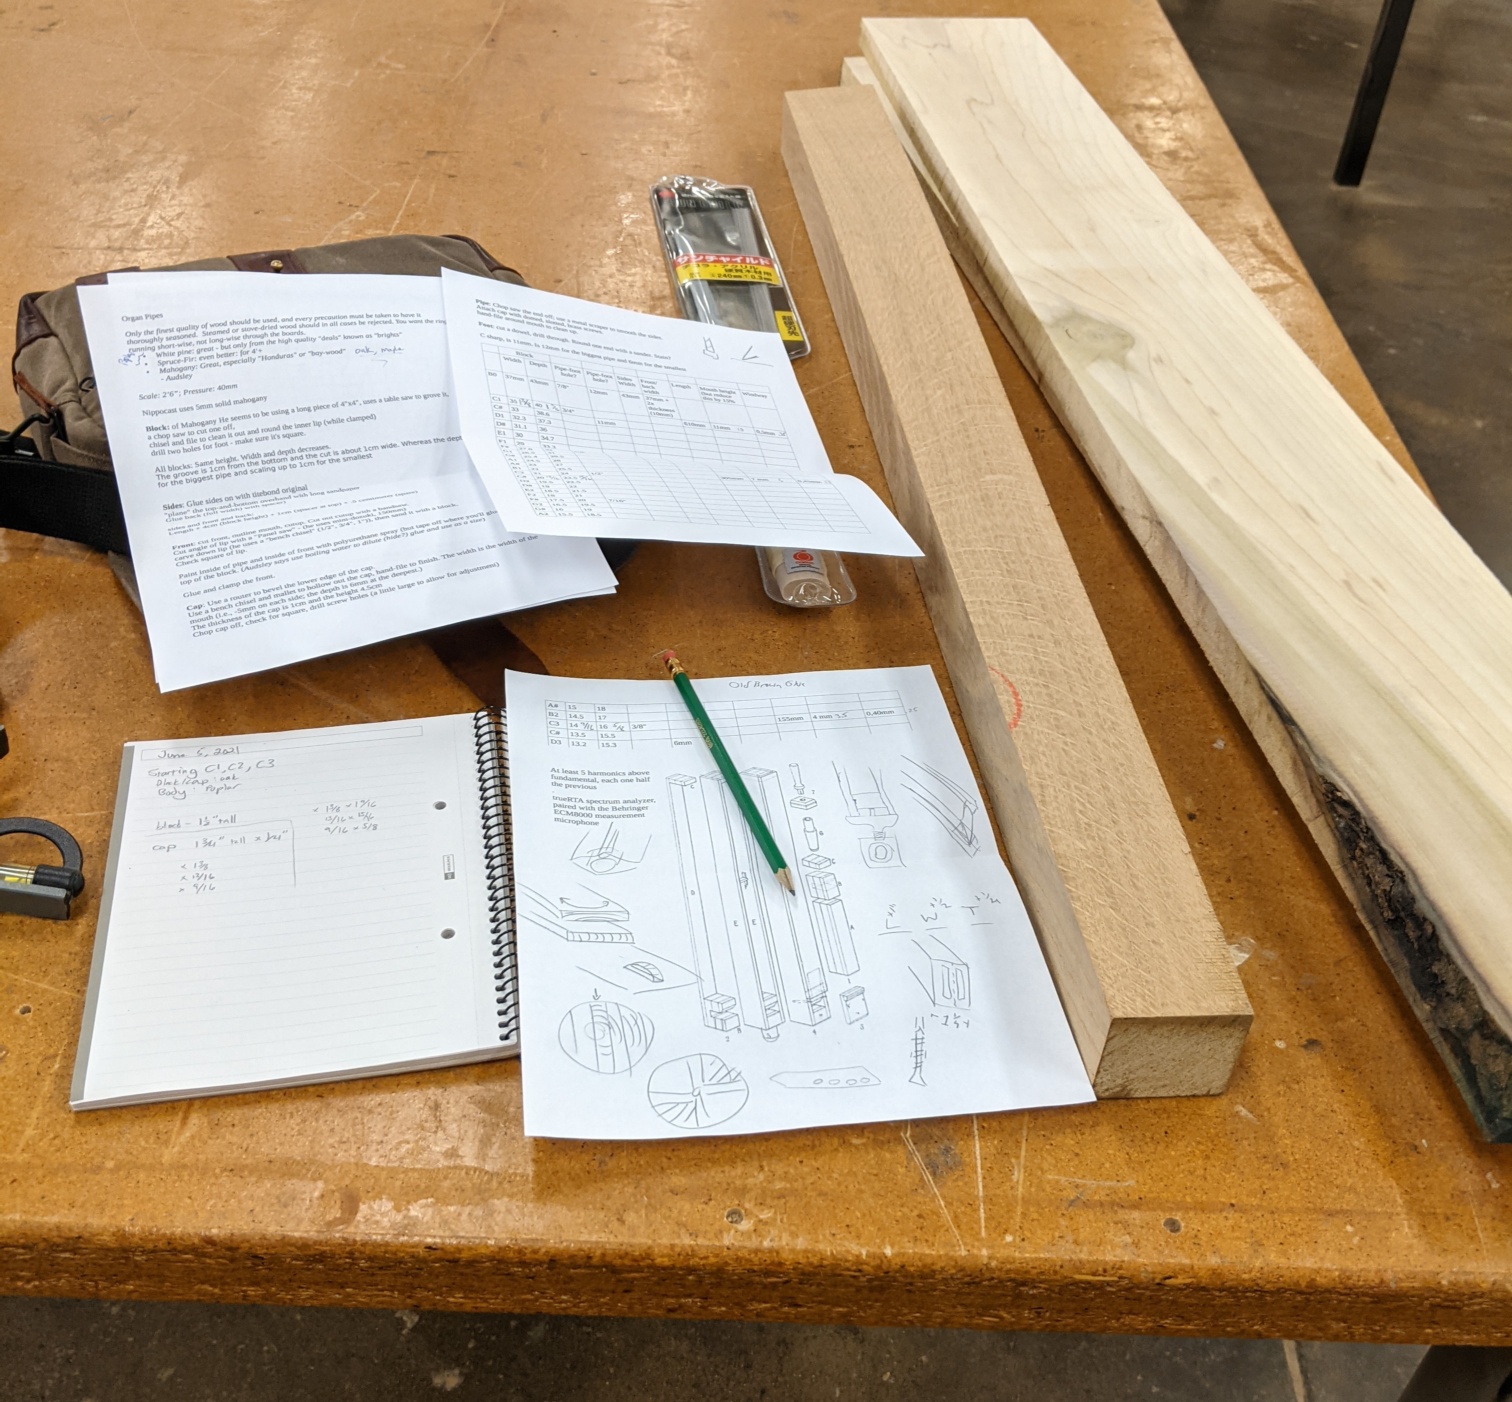
Slowly making my way around the workshop, I had finally made good progress on my first block - for pipe C1. I then went to drill the hole in the bottom and busted it. Alas.
The second version went much faster, thankfully, and this time I used a spare piece of wood to support the base while drilling.
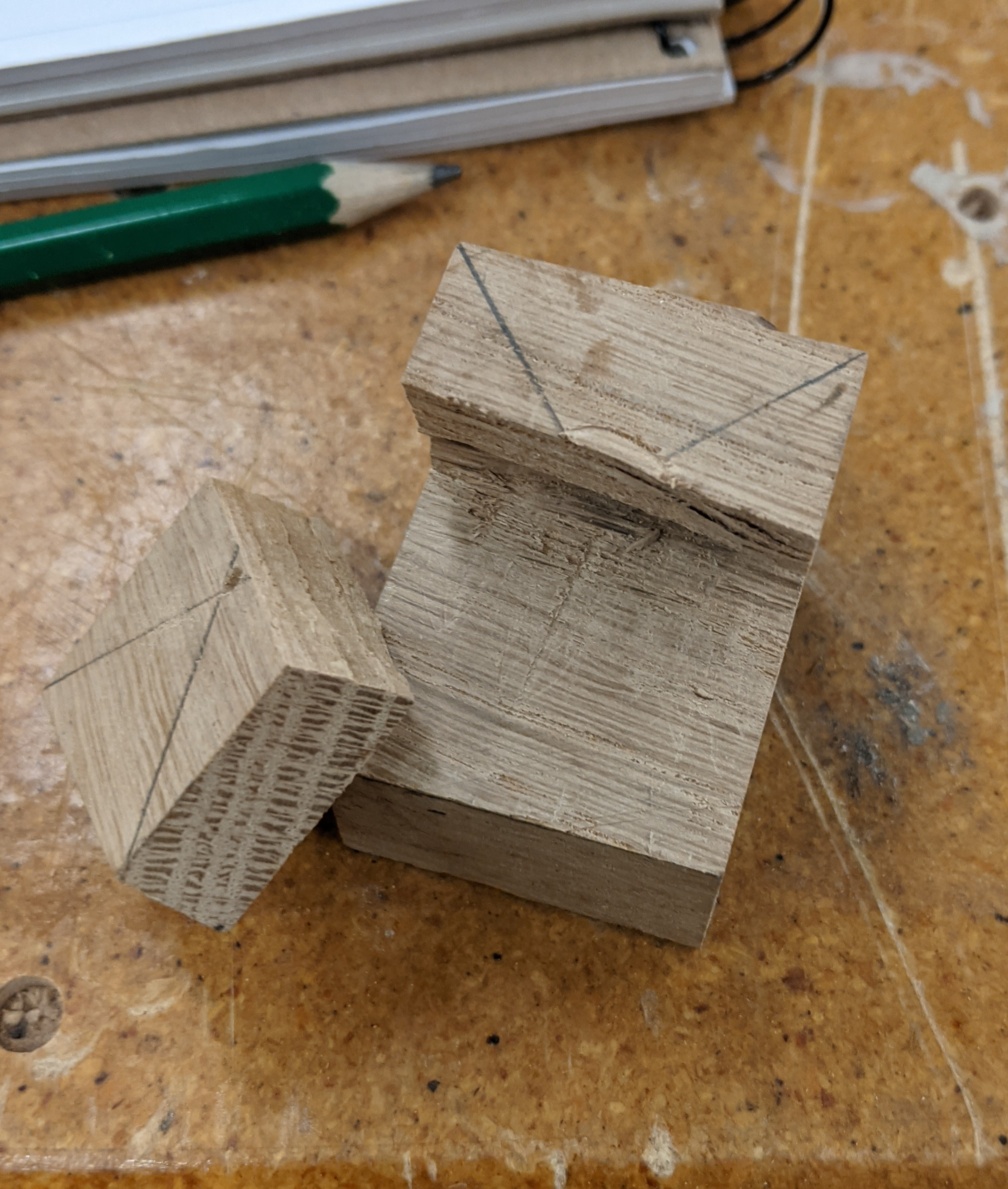
The drill went through just fine. I did not get any forstner bits yet - which I would use to drill outside the air hole to allow the pipe foot to sit in. I figured I could do that later - not really thinking about the difficulty that might cause trying to center it over a large, already drilled hole. This was probably a mistake.
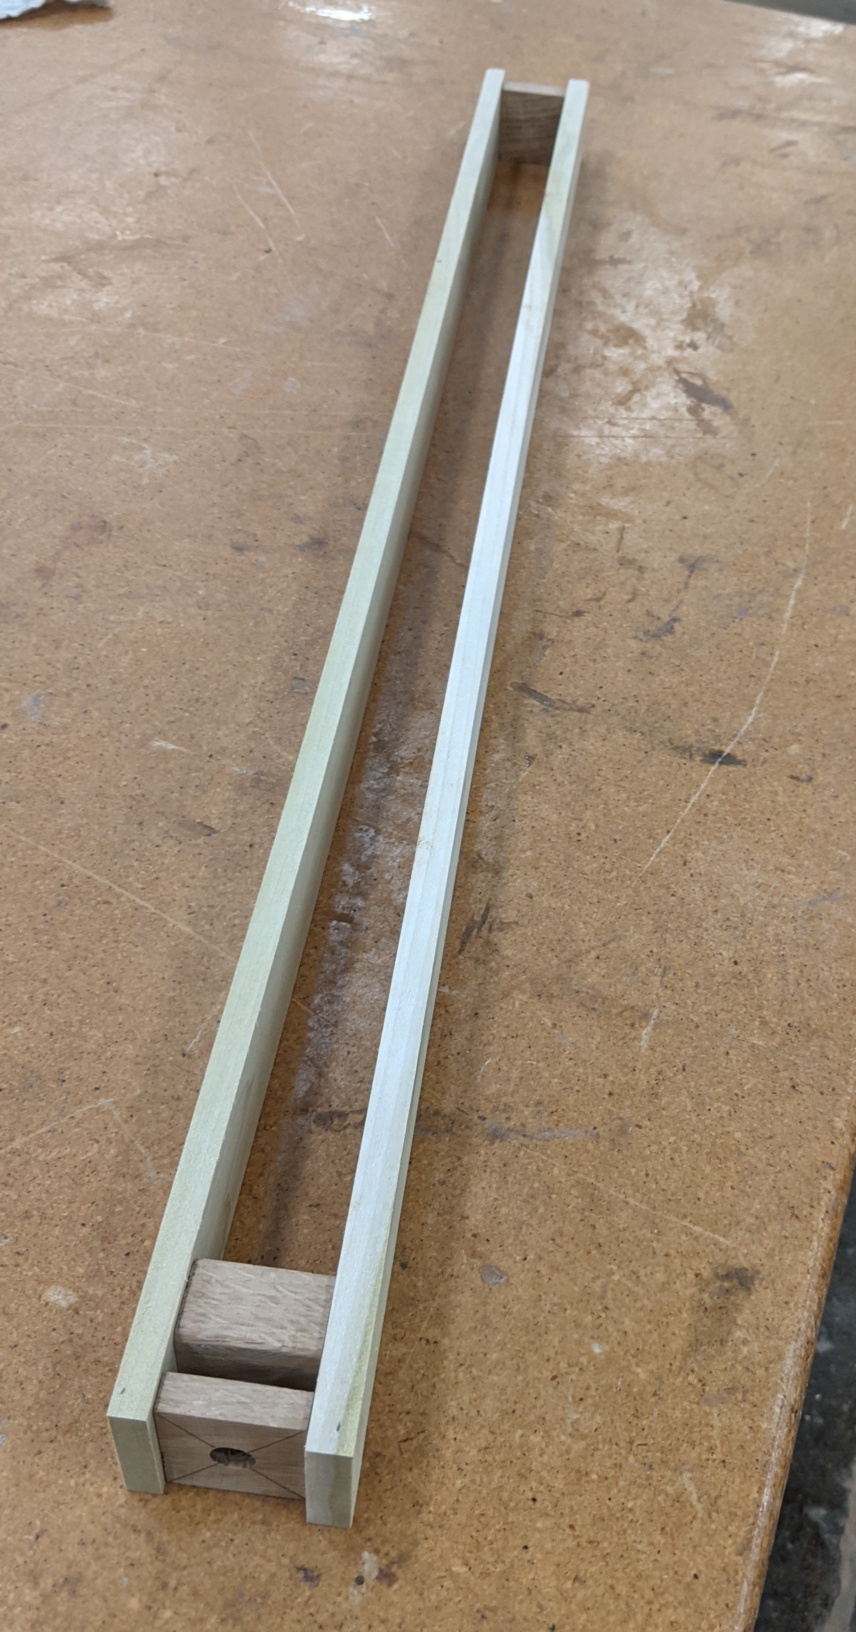
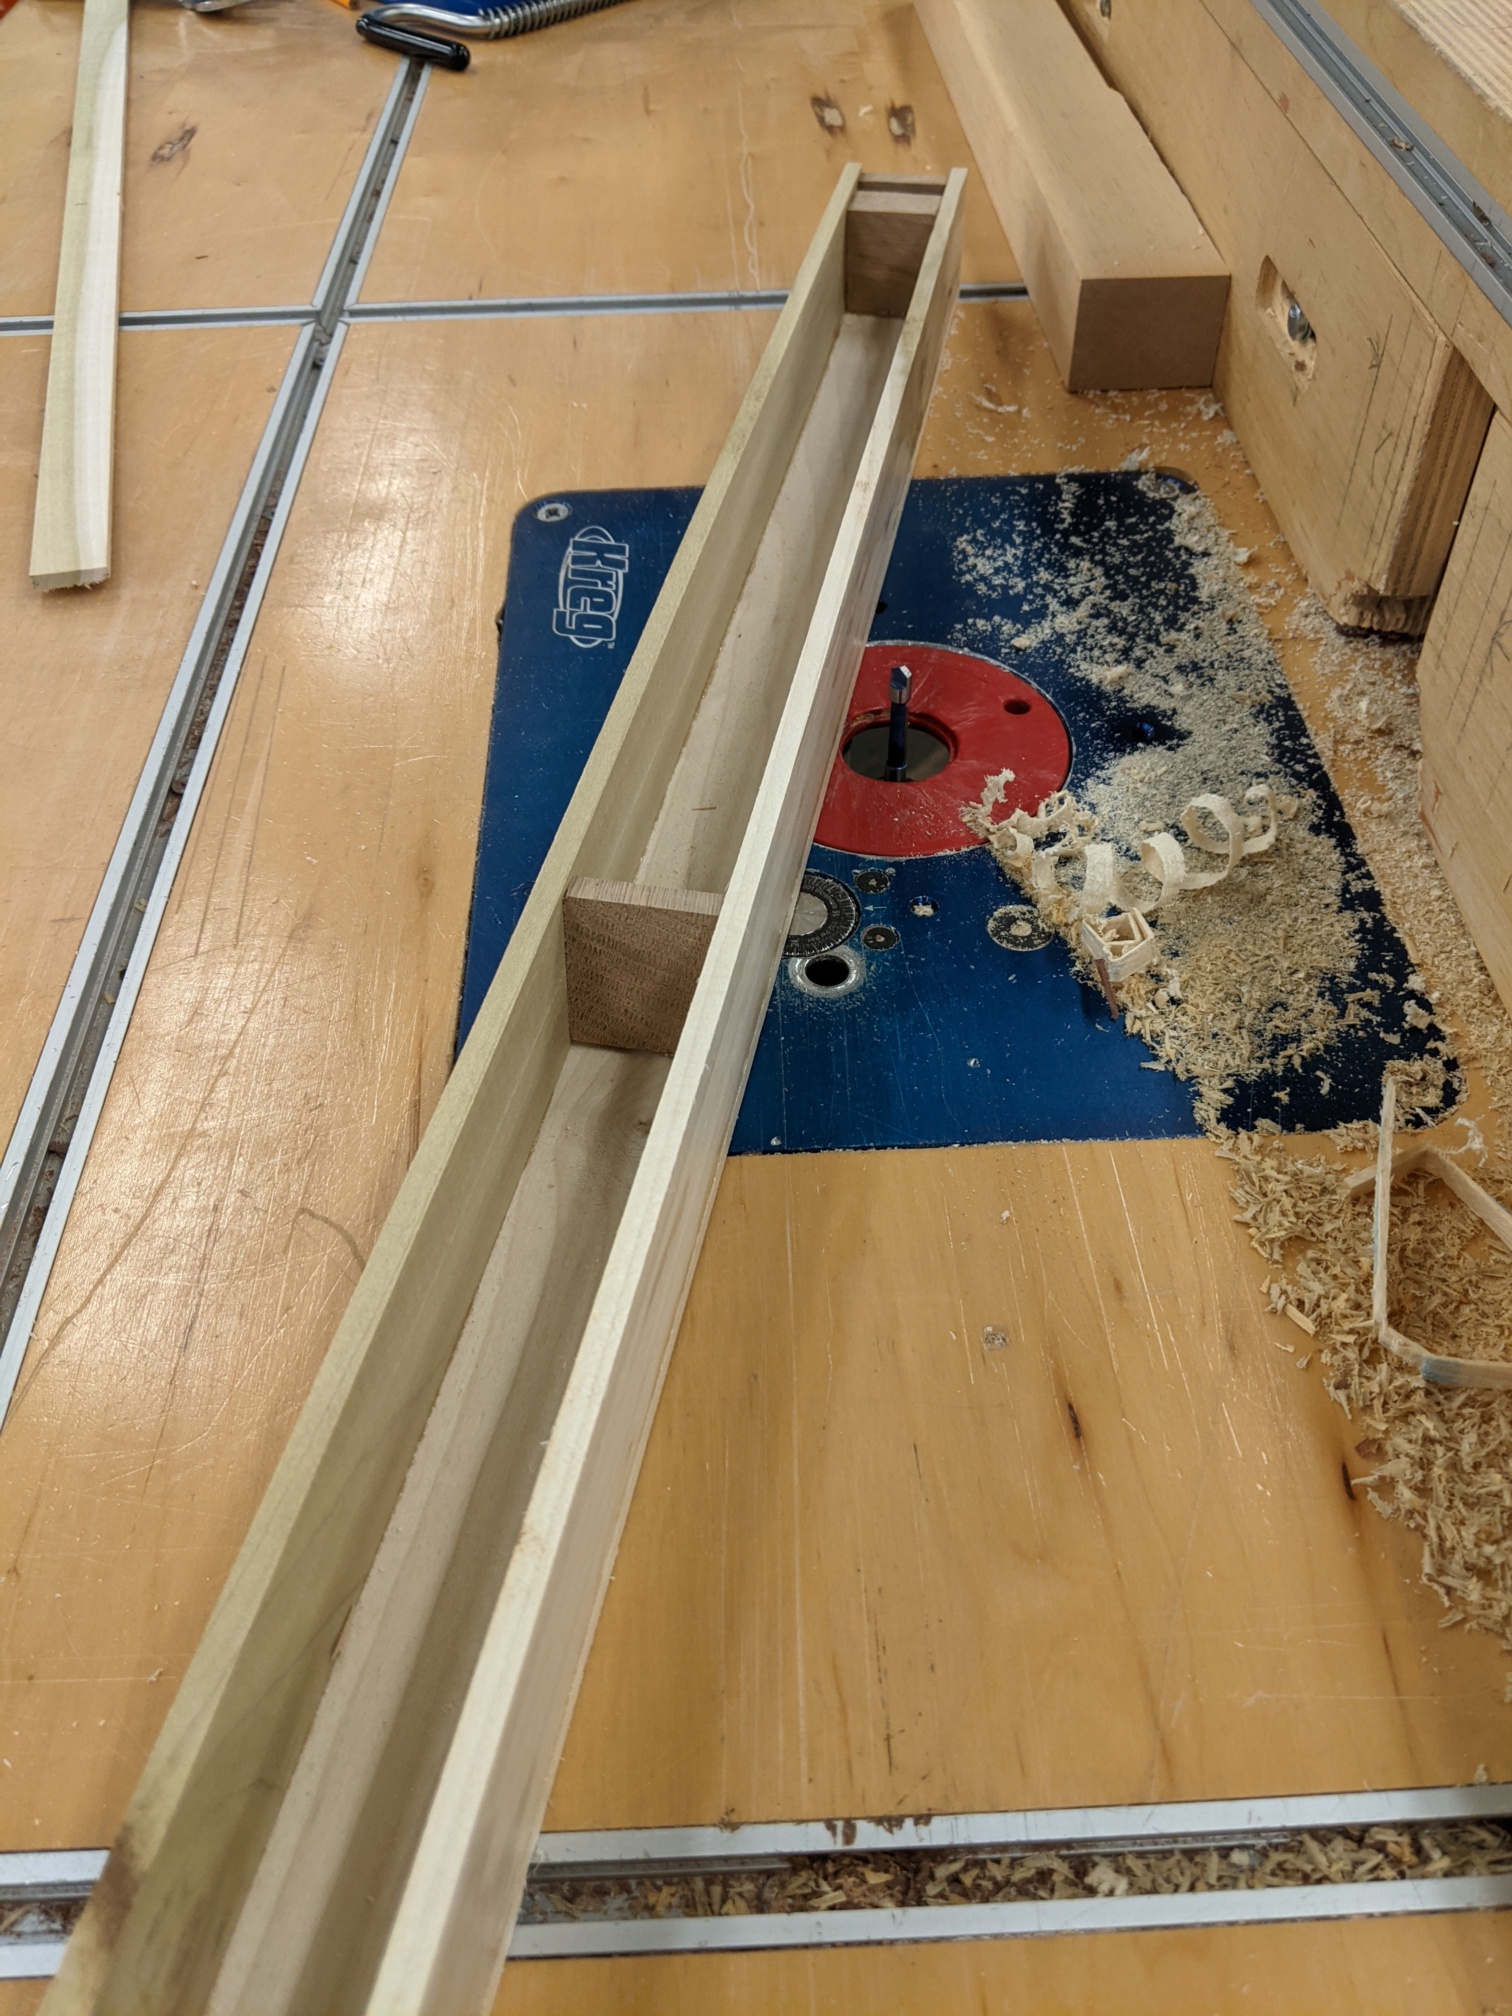
Finally, I started cutting down the poplar for the pipe body. I did it all on the table saw since that seemed easiest; but my side pieces are not completely flat. I'm hoping they'll flatten out in the planer (since they still need to be planed down) - or at least being glued to the front and back will be sufficient.
Total time: 2 hours
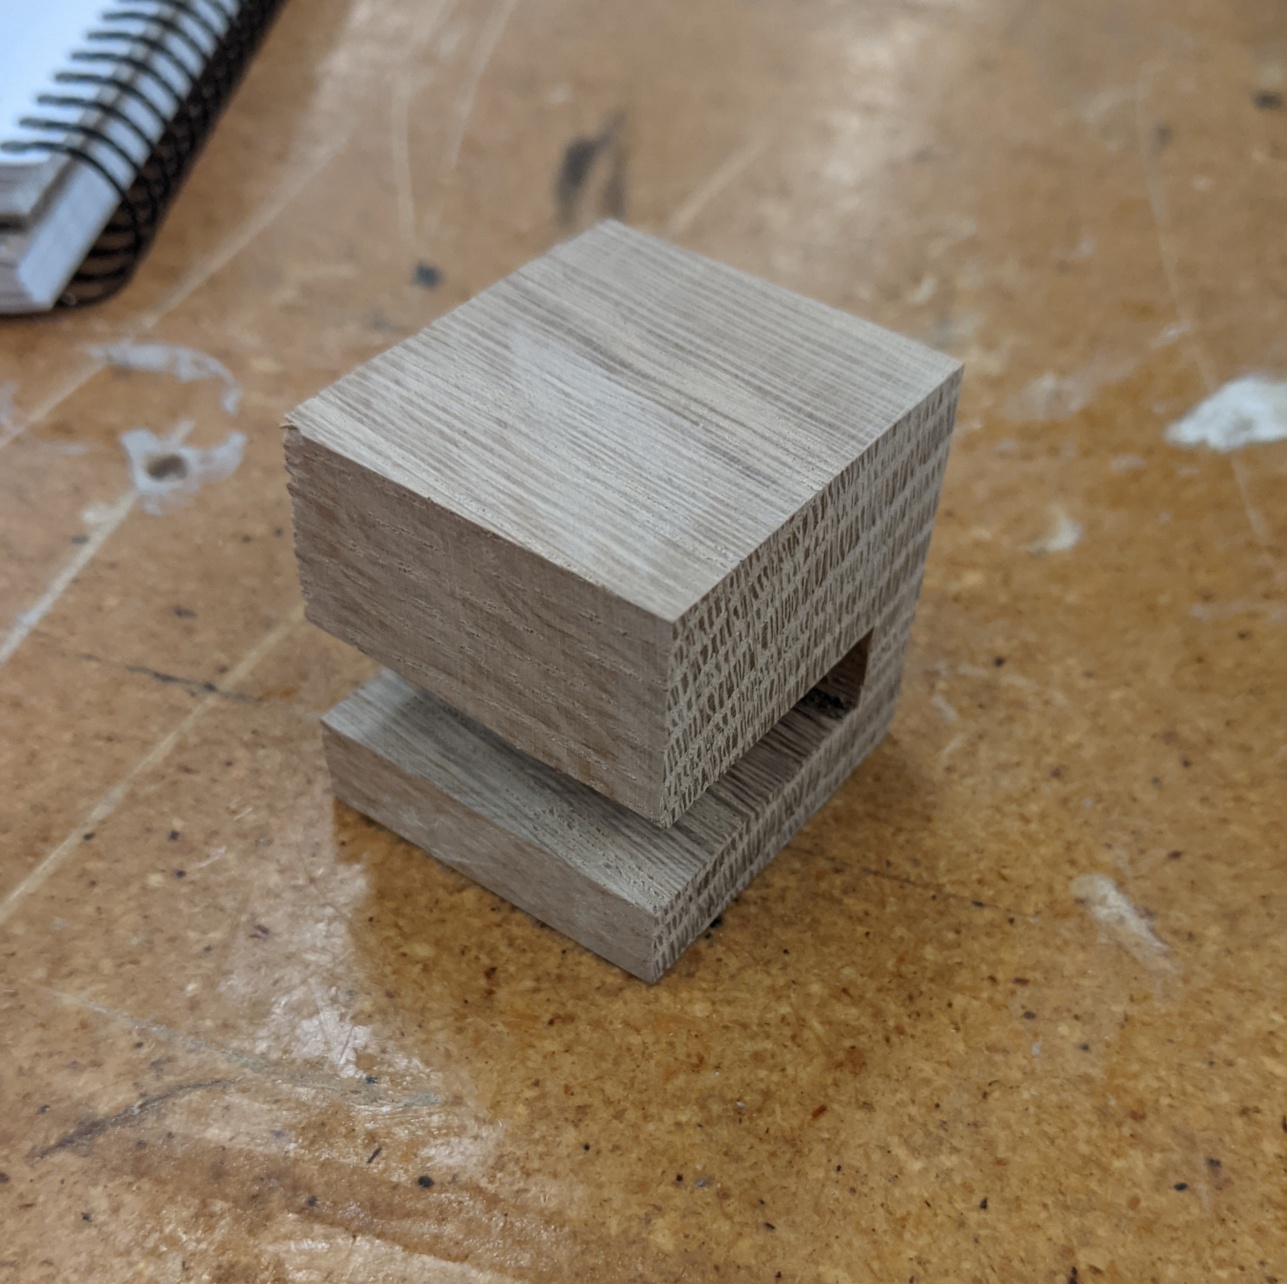
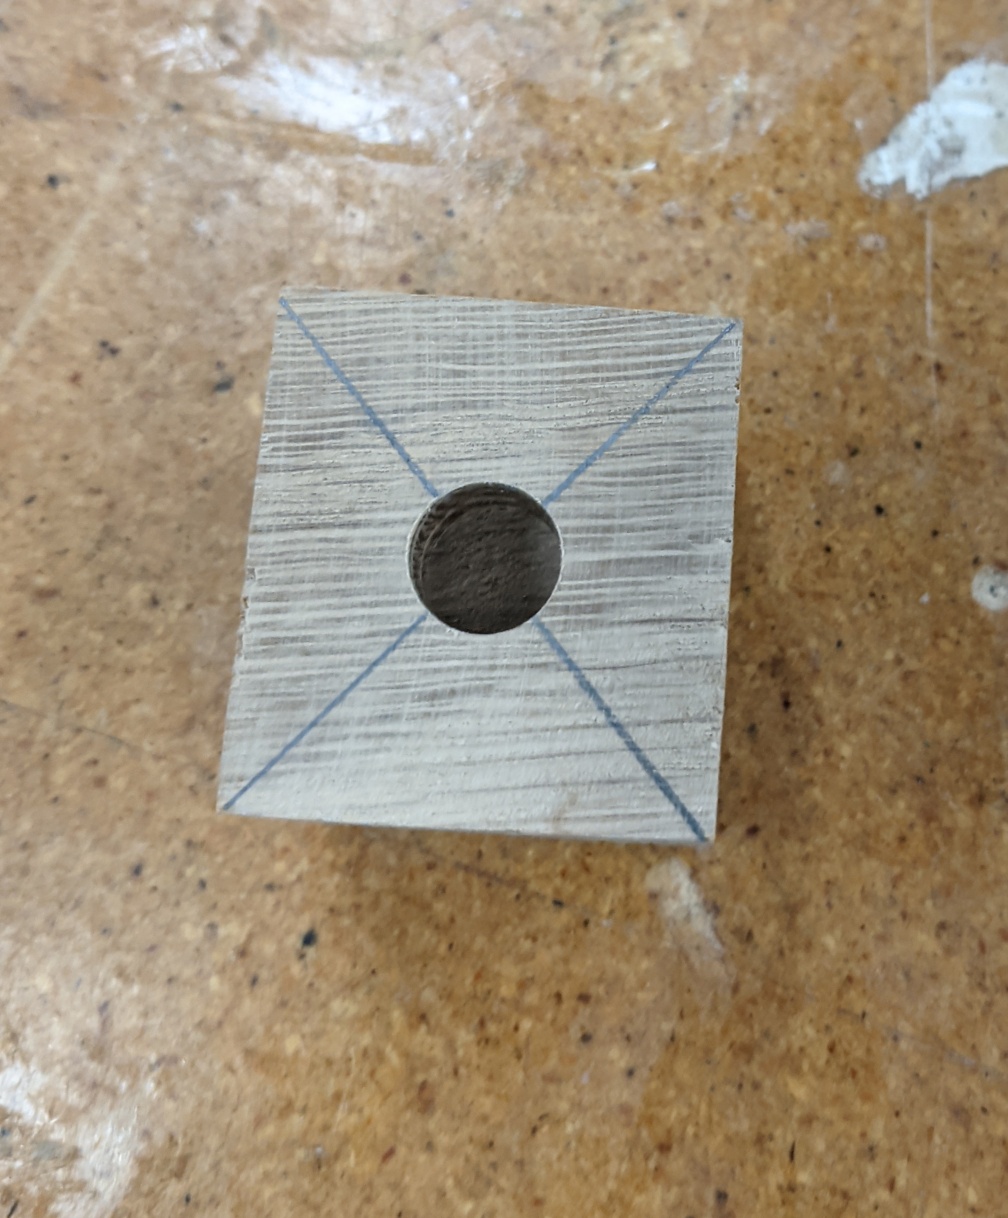
First thing, they had forster bits there, so I got a larger whole sunk into the block for the toe. A little off center.
As you can see, the sides have a nice curve to them. Another gentleman in the shop said that's going to be the nature of poplar. Woops.
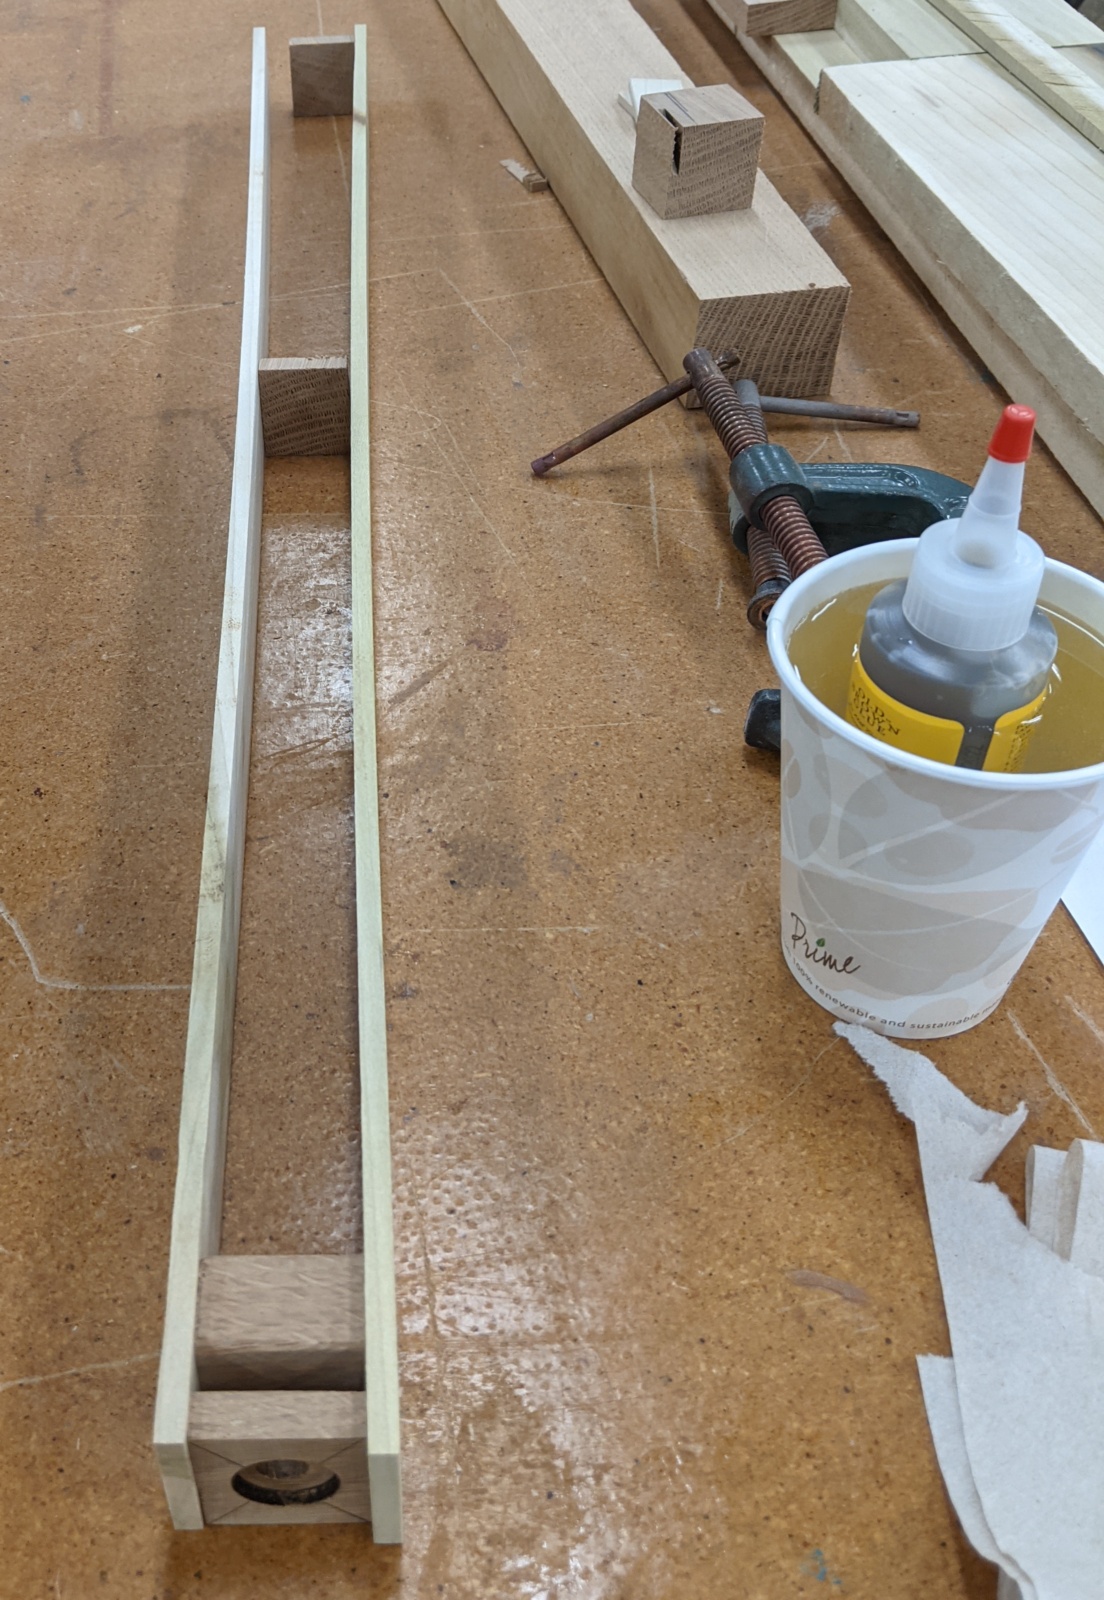
I got my glue flowing, and clamped the sides on, with spaces in the middle and at the end. My hope is that the middle spacer (which is just held by tension) will keep it square enough for the glued front and back to hold the hole thing. This may be a throw away pipe though.
I cut the front and back the same way as the sides, and they suffer from the same slight curve. My cap is way too thick, and it's too small to plane down, so I still have to figure that out. Might just hold it against the sander and hope it doesn't catch fire.
Total time: 15 minutes

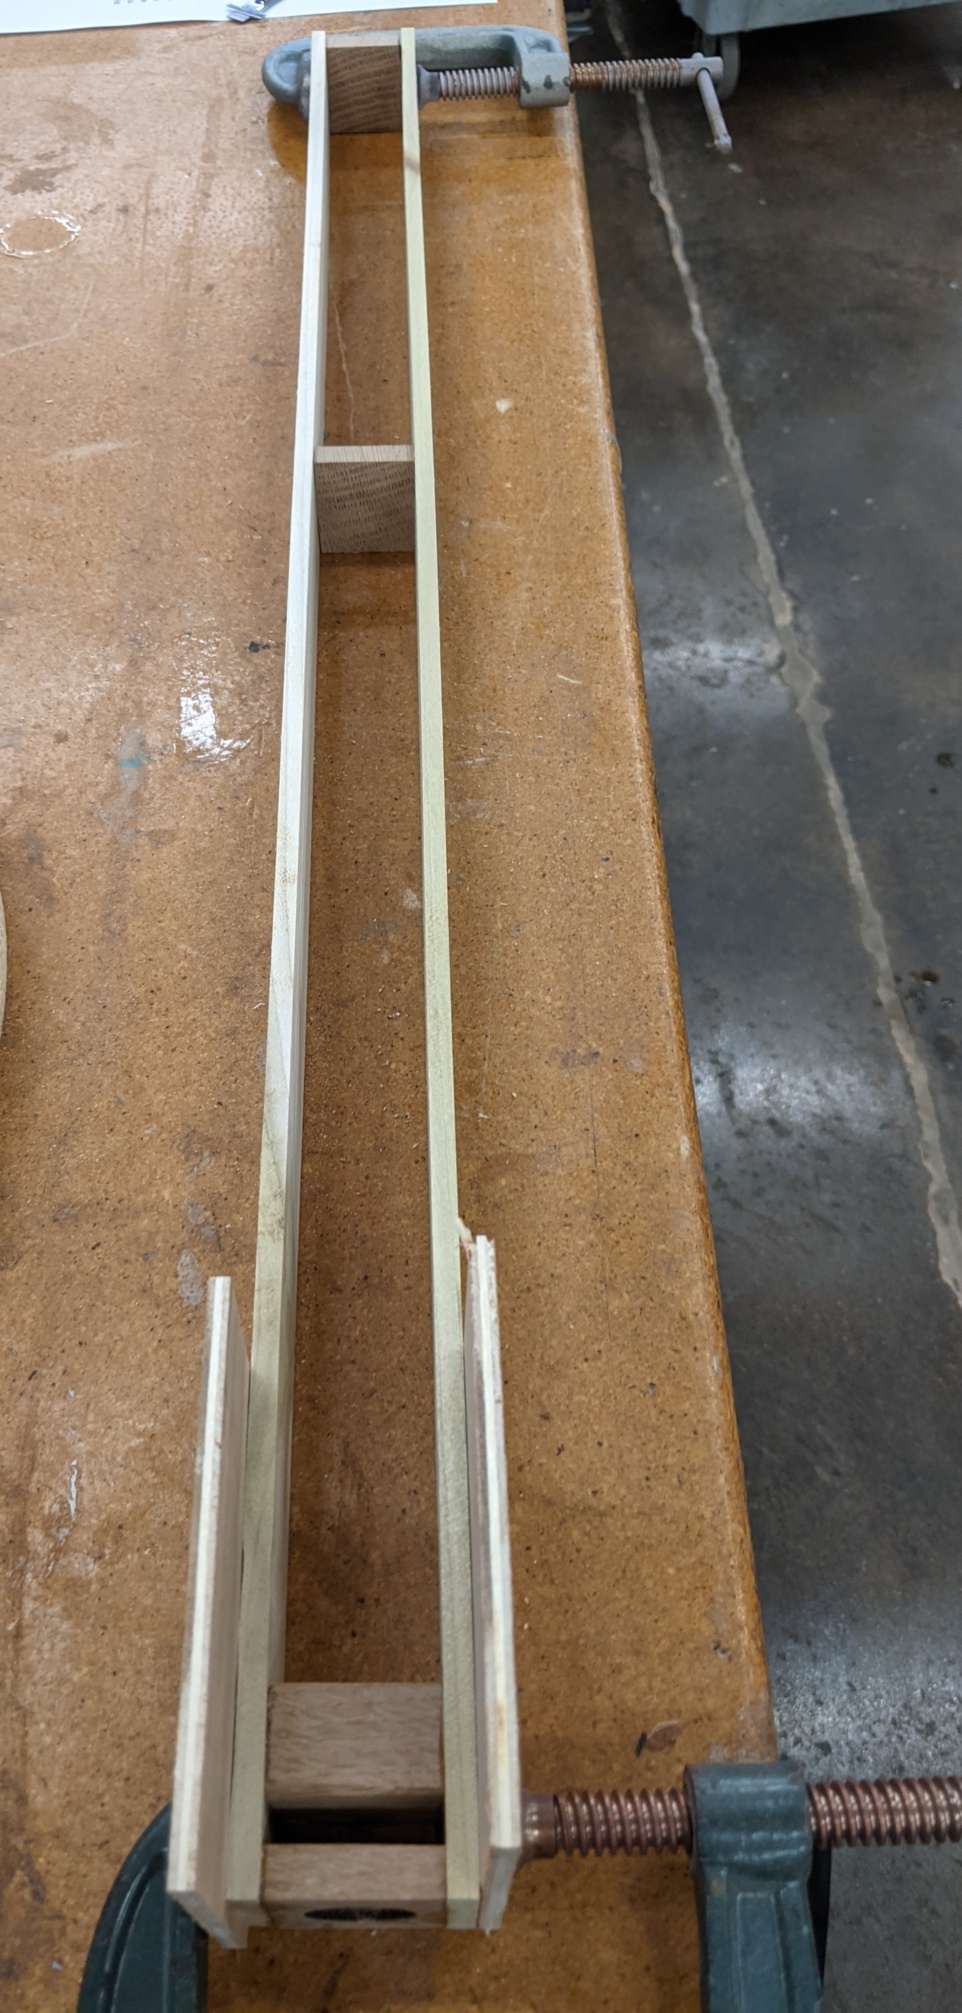
A short day: I just glued the back on to the sides and block.
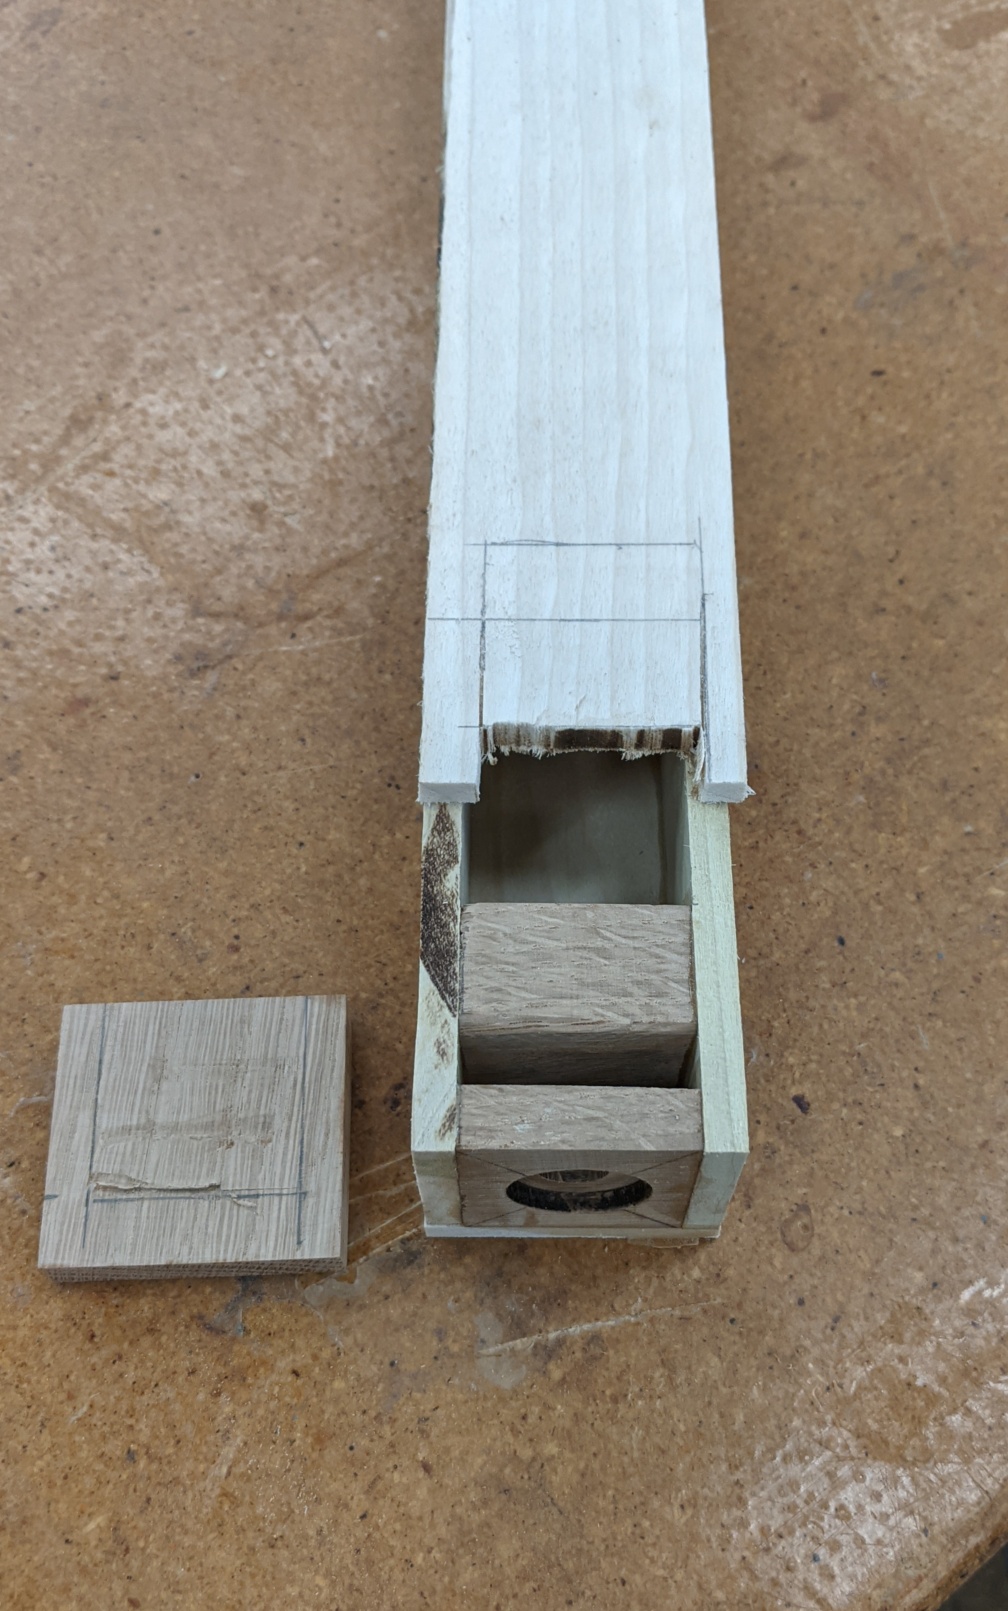
A close up of the block shows that my sides are really way too long. After thinking about using the table router with a guard, or the rotary sander, a friend said that just using the table saw was probably the best way to go.
Total time: 2 hours
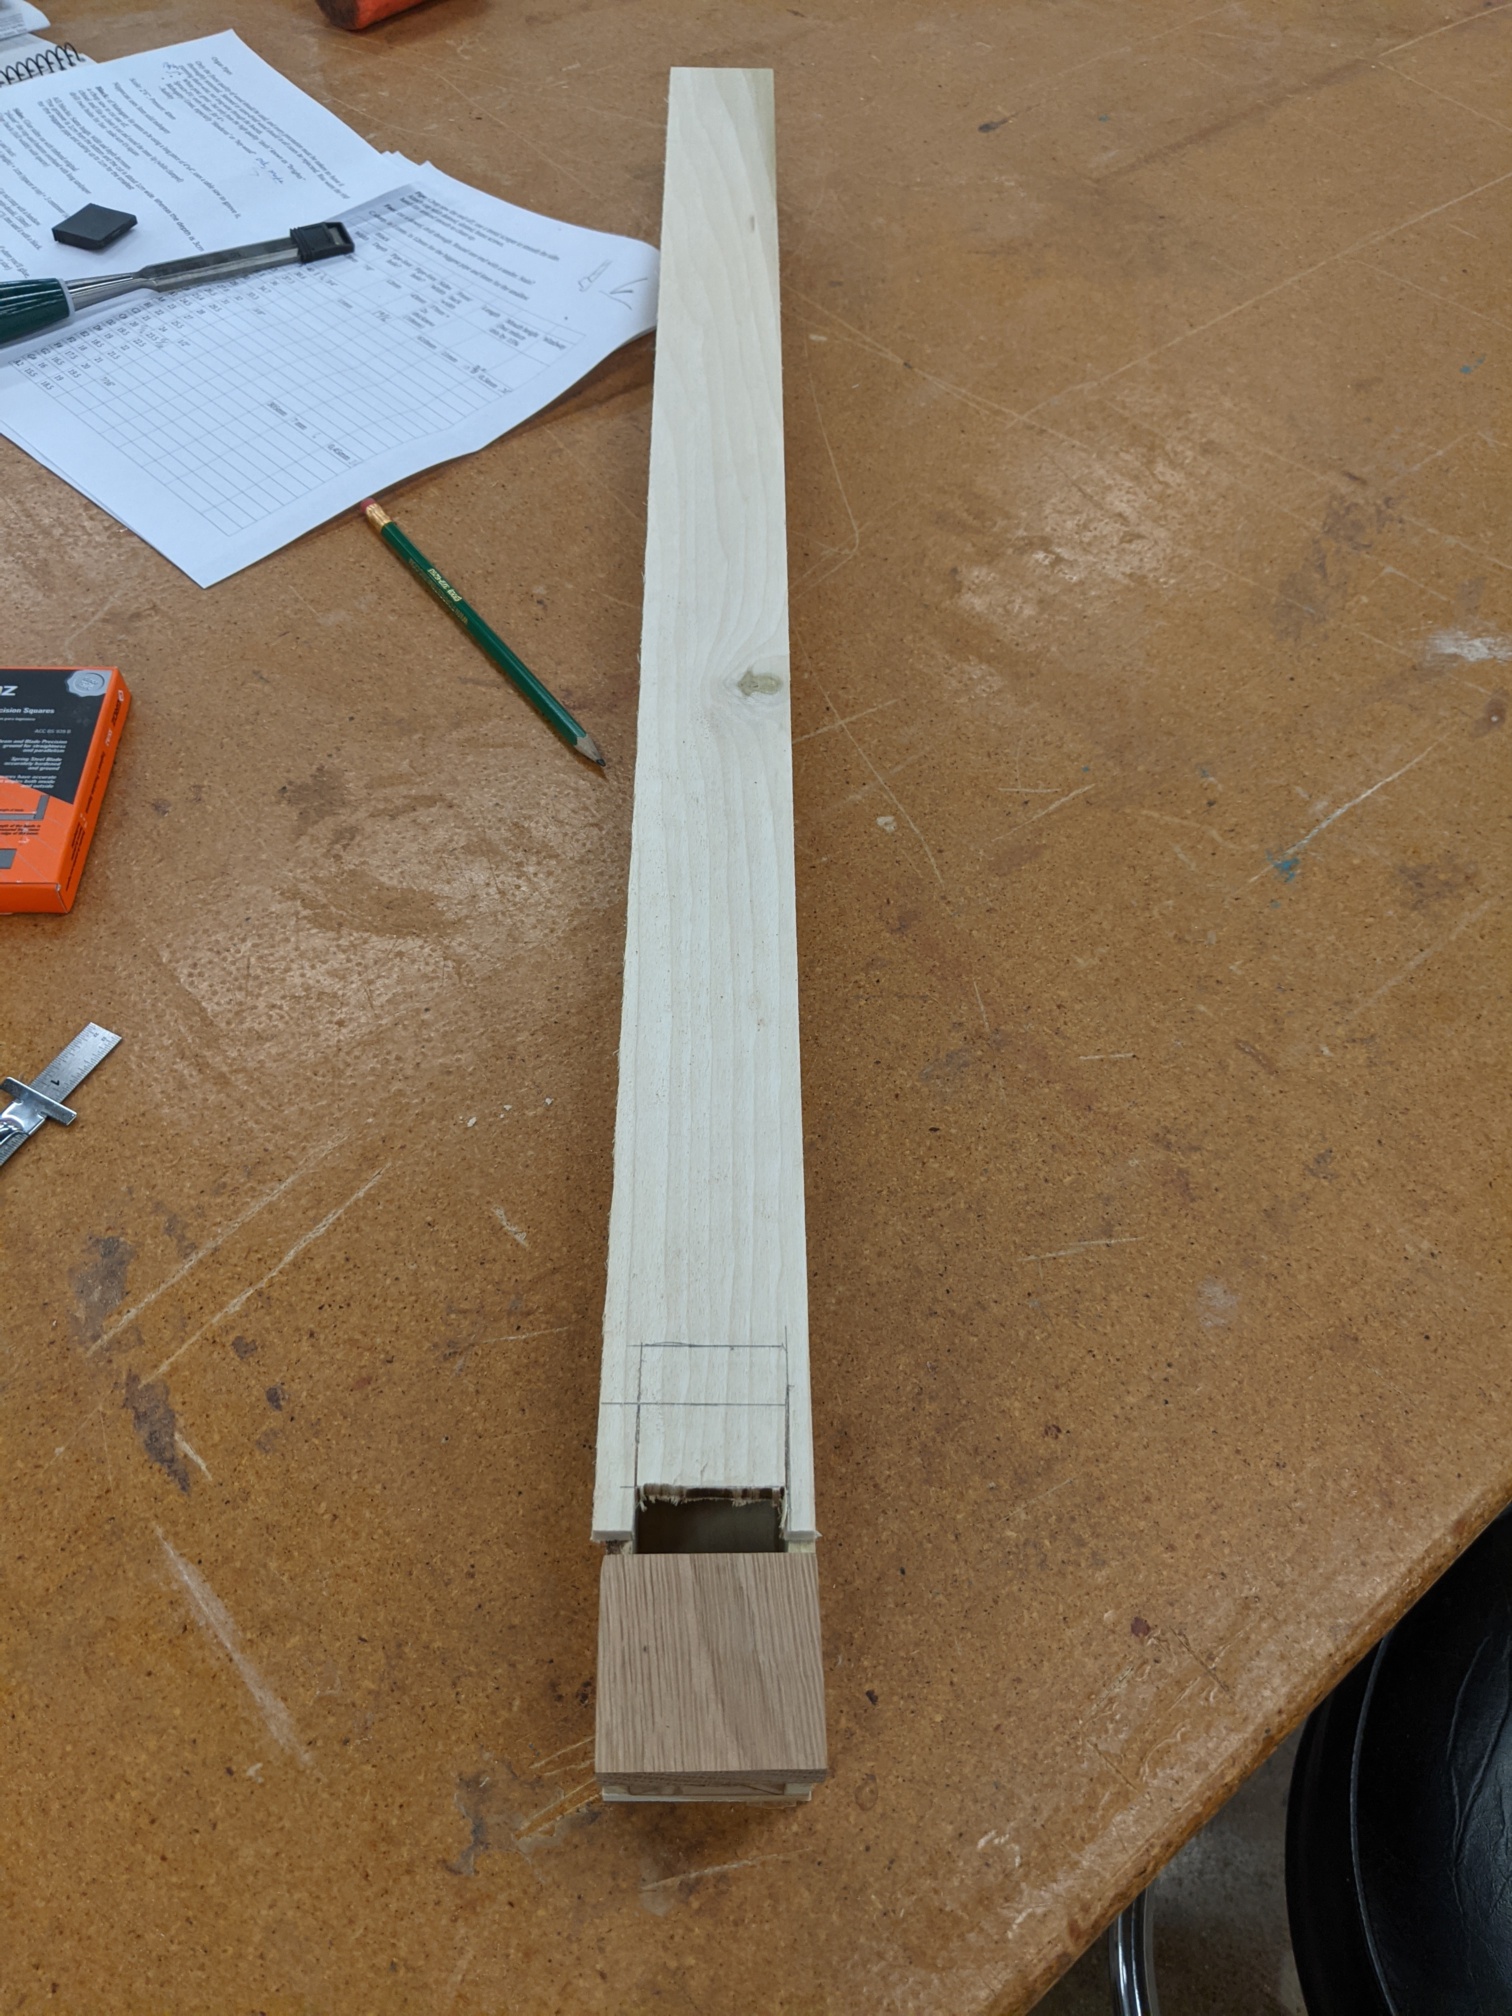
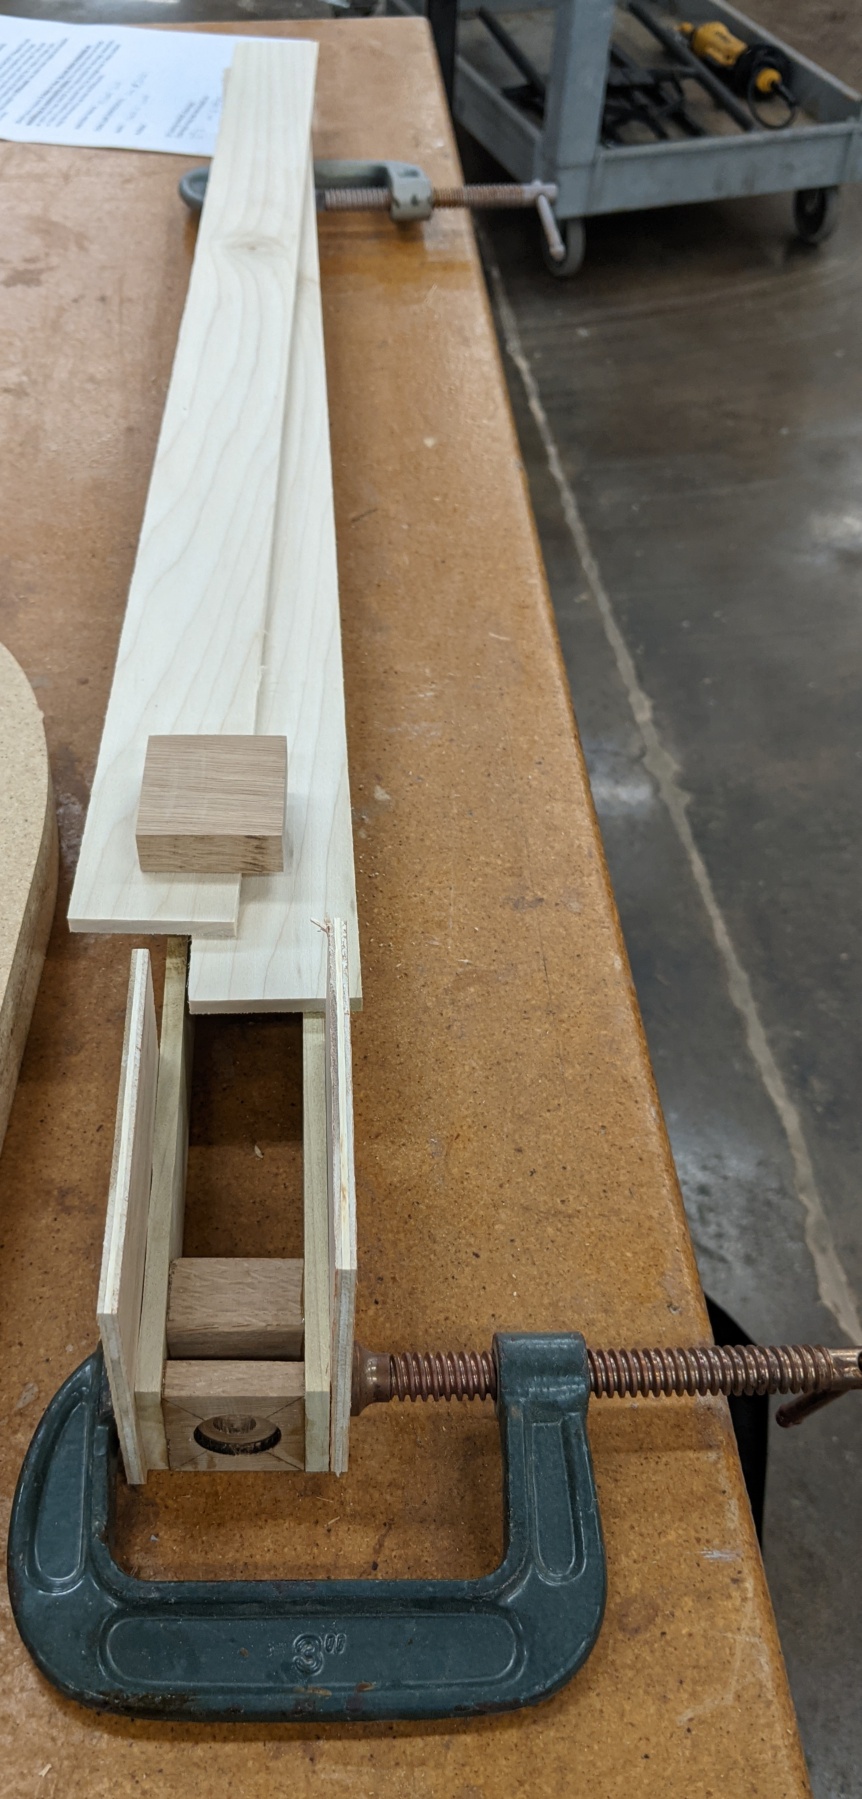
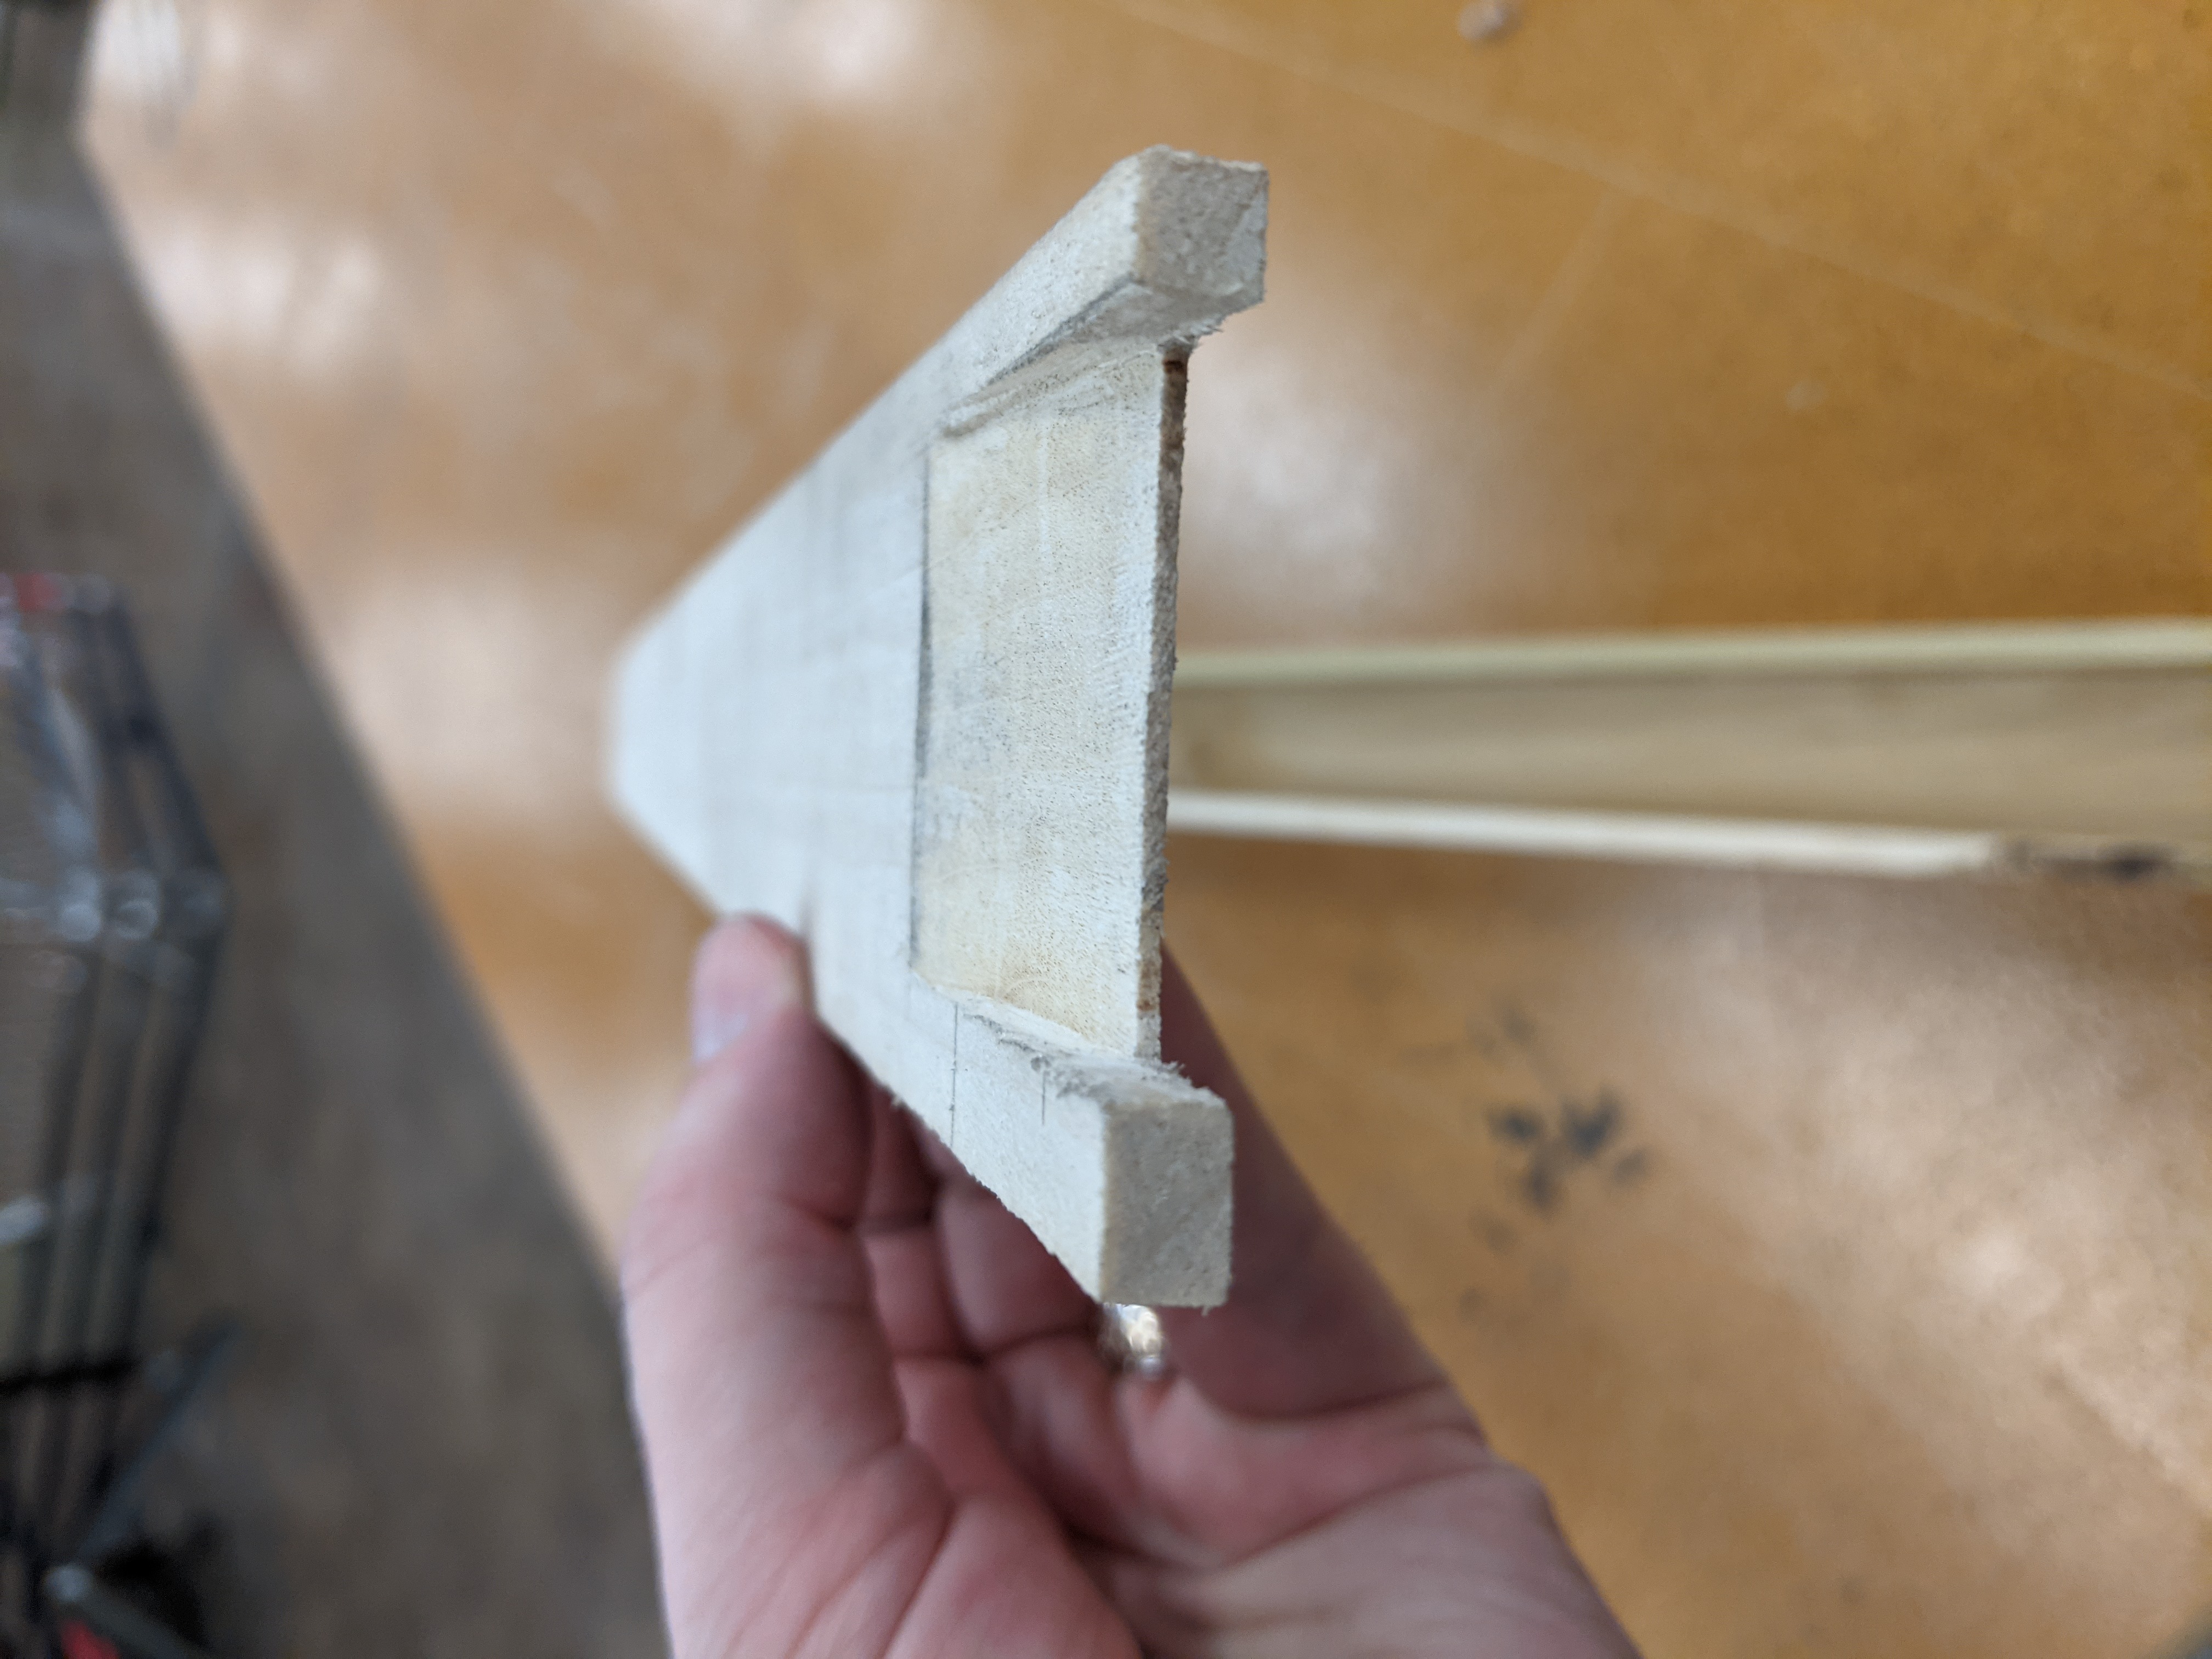
Today I started by using the table router to smooth down the overhang on both sides of the back. Then I ran the face through the table saw again to cut it down to the height of the block. Although, it's a little over-large still. Less than a millimeter. I'm going to hope it works anyway...
Next I cut my block down - probably not the best way. I used the band saw, and wedged it in between enough other pieces of wood to sort of hold it steady without cutting my hand off - unfortunately that also was too much to pass under with it. So I came in from both sides, then sanded it flat.
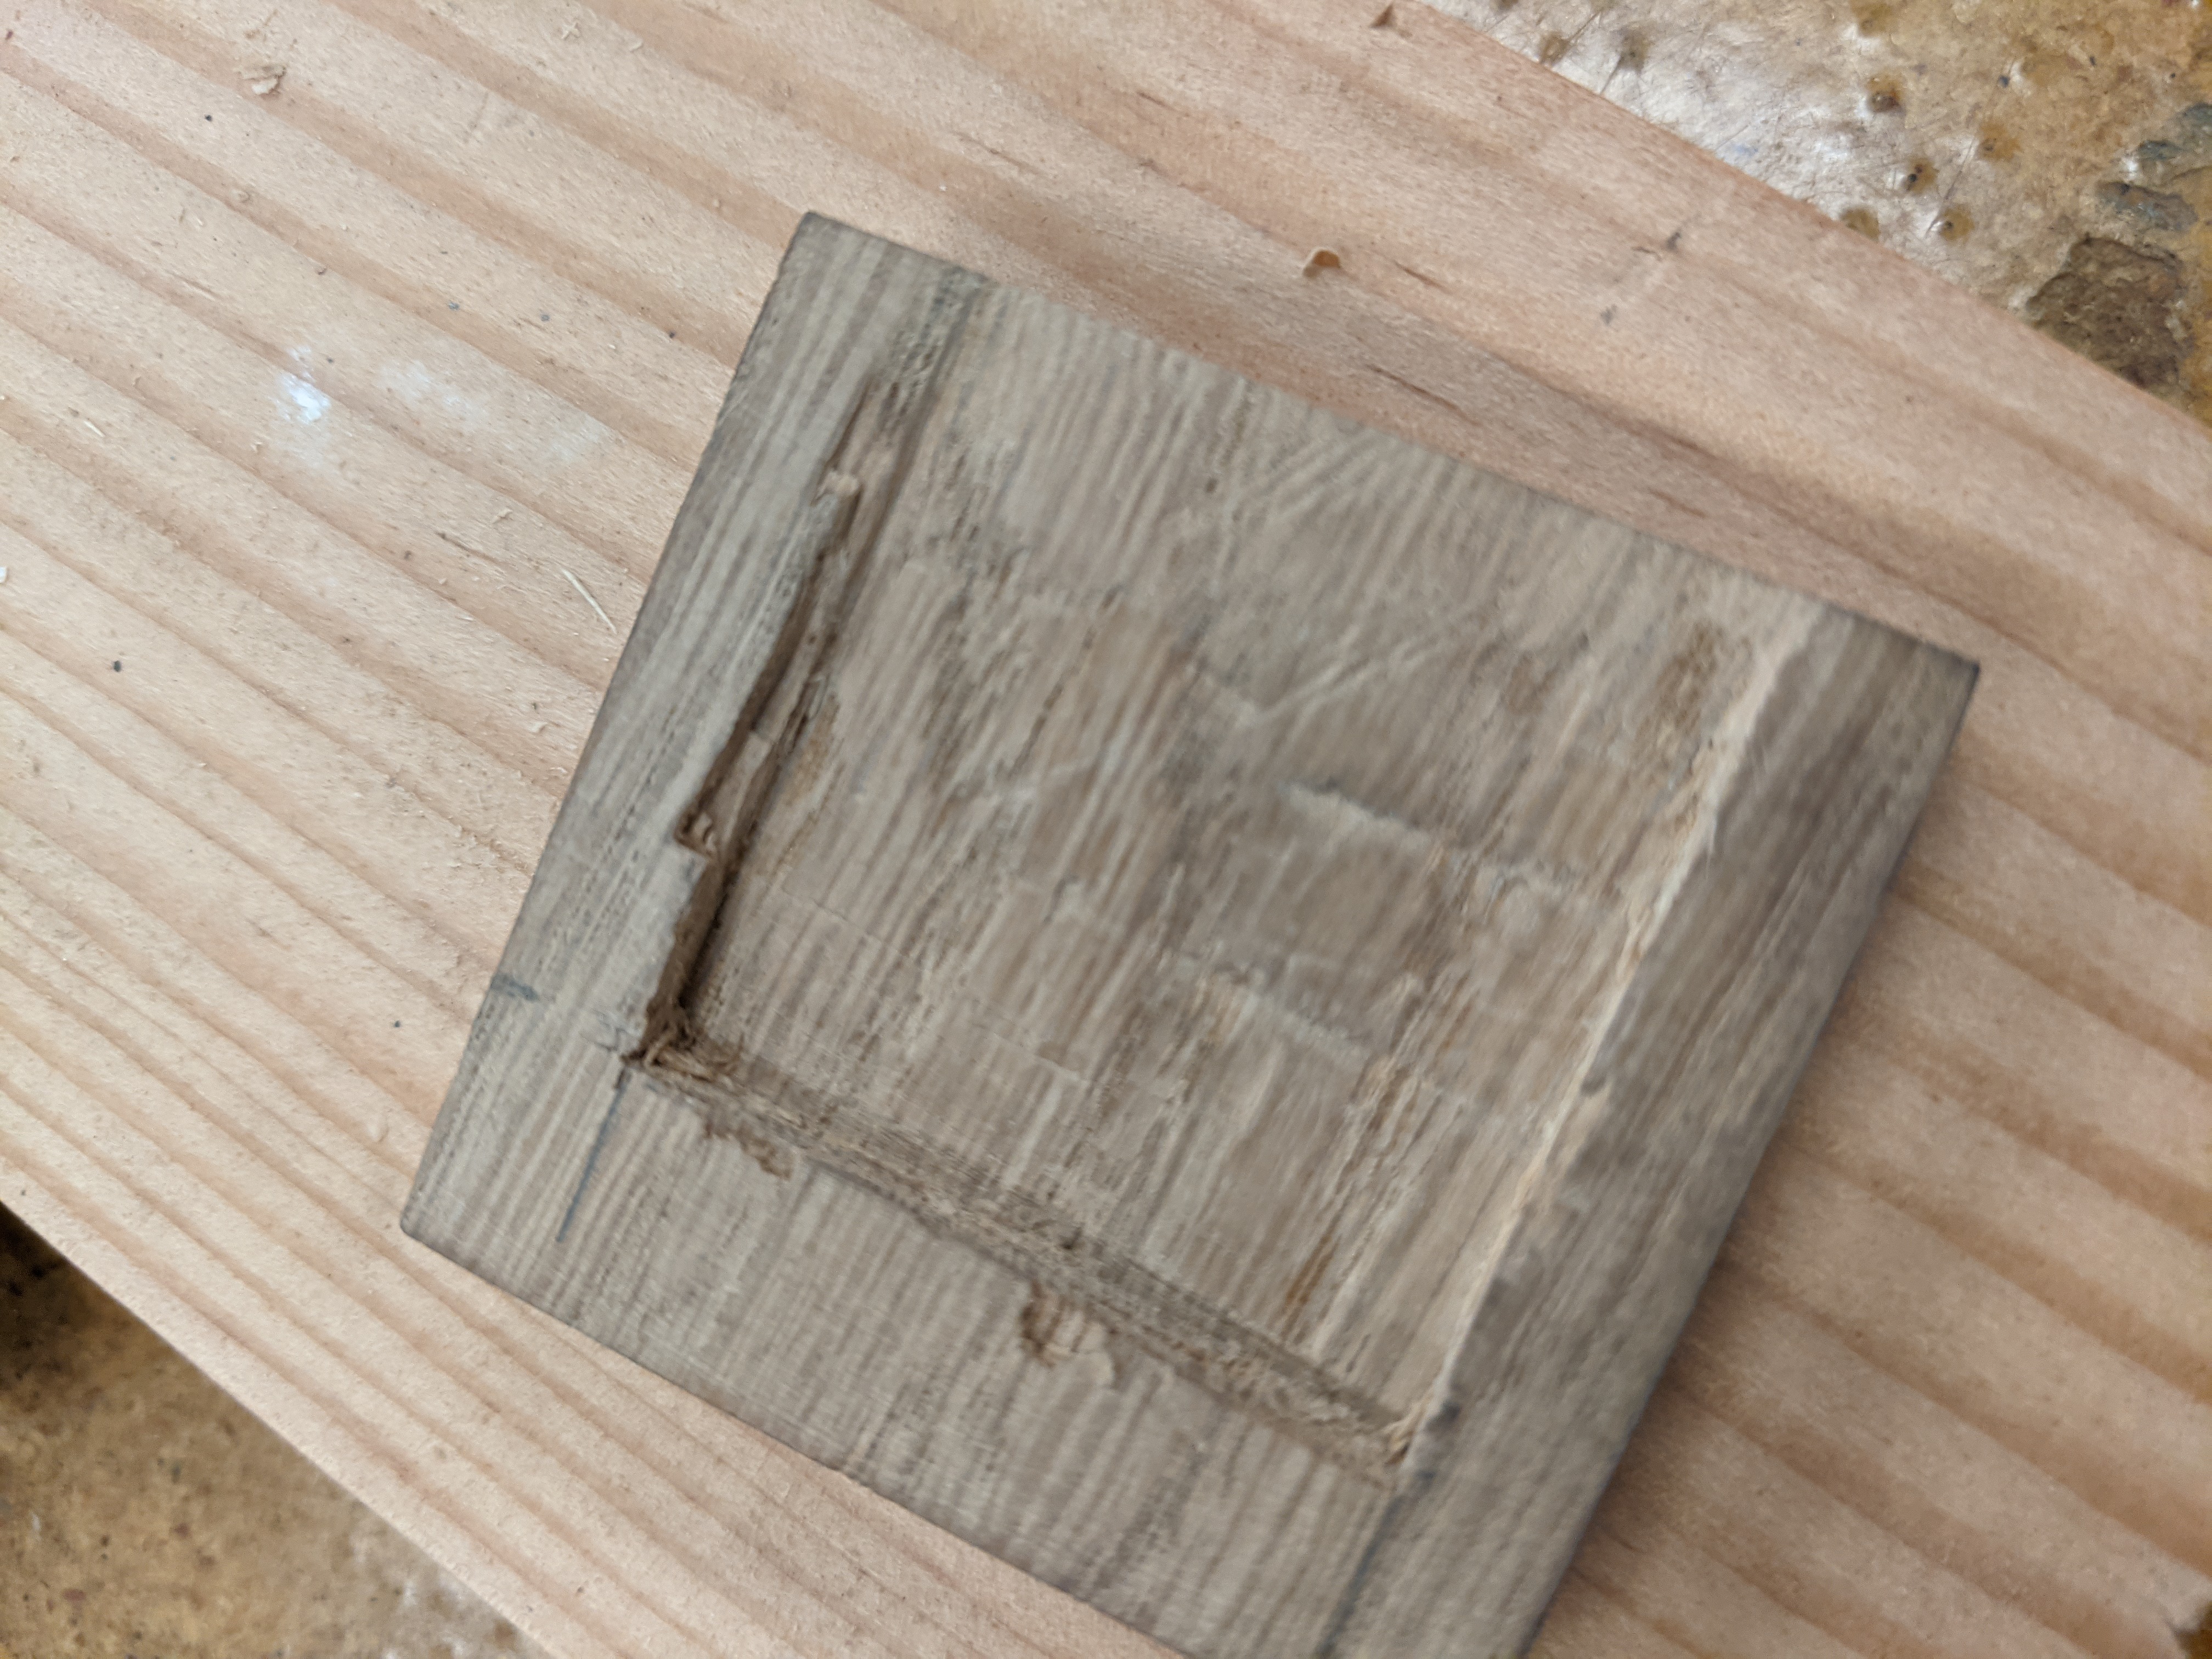
I then started cutting the upper mouth in the band saw - and I ended up slipping and gouging it too deep in one spot. I went ahead and tried to start chiseling it down - but made a few more mistakes so I just cut it off and started again. My attempt at chiseling was not going well with either the mouth or the block - so I've put those off for another day.
Total time: 3 hours
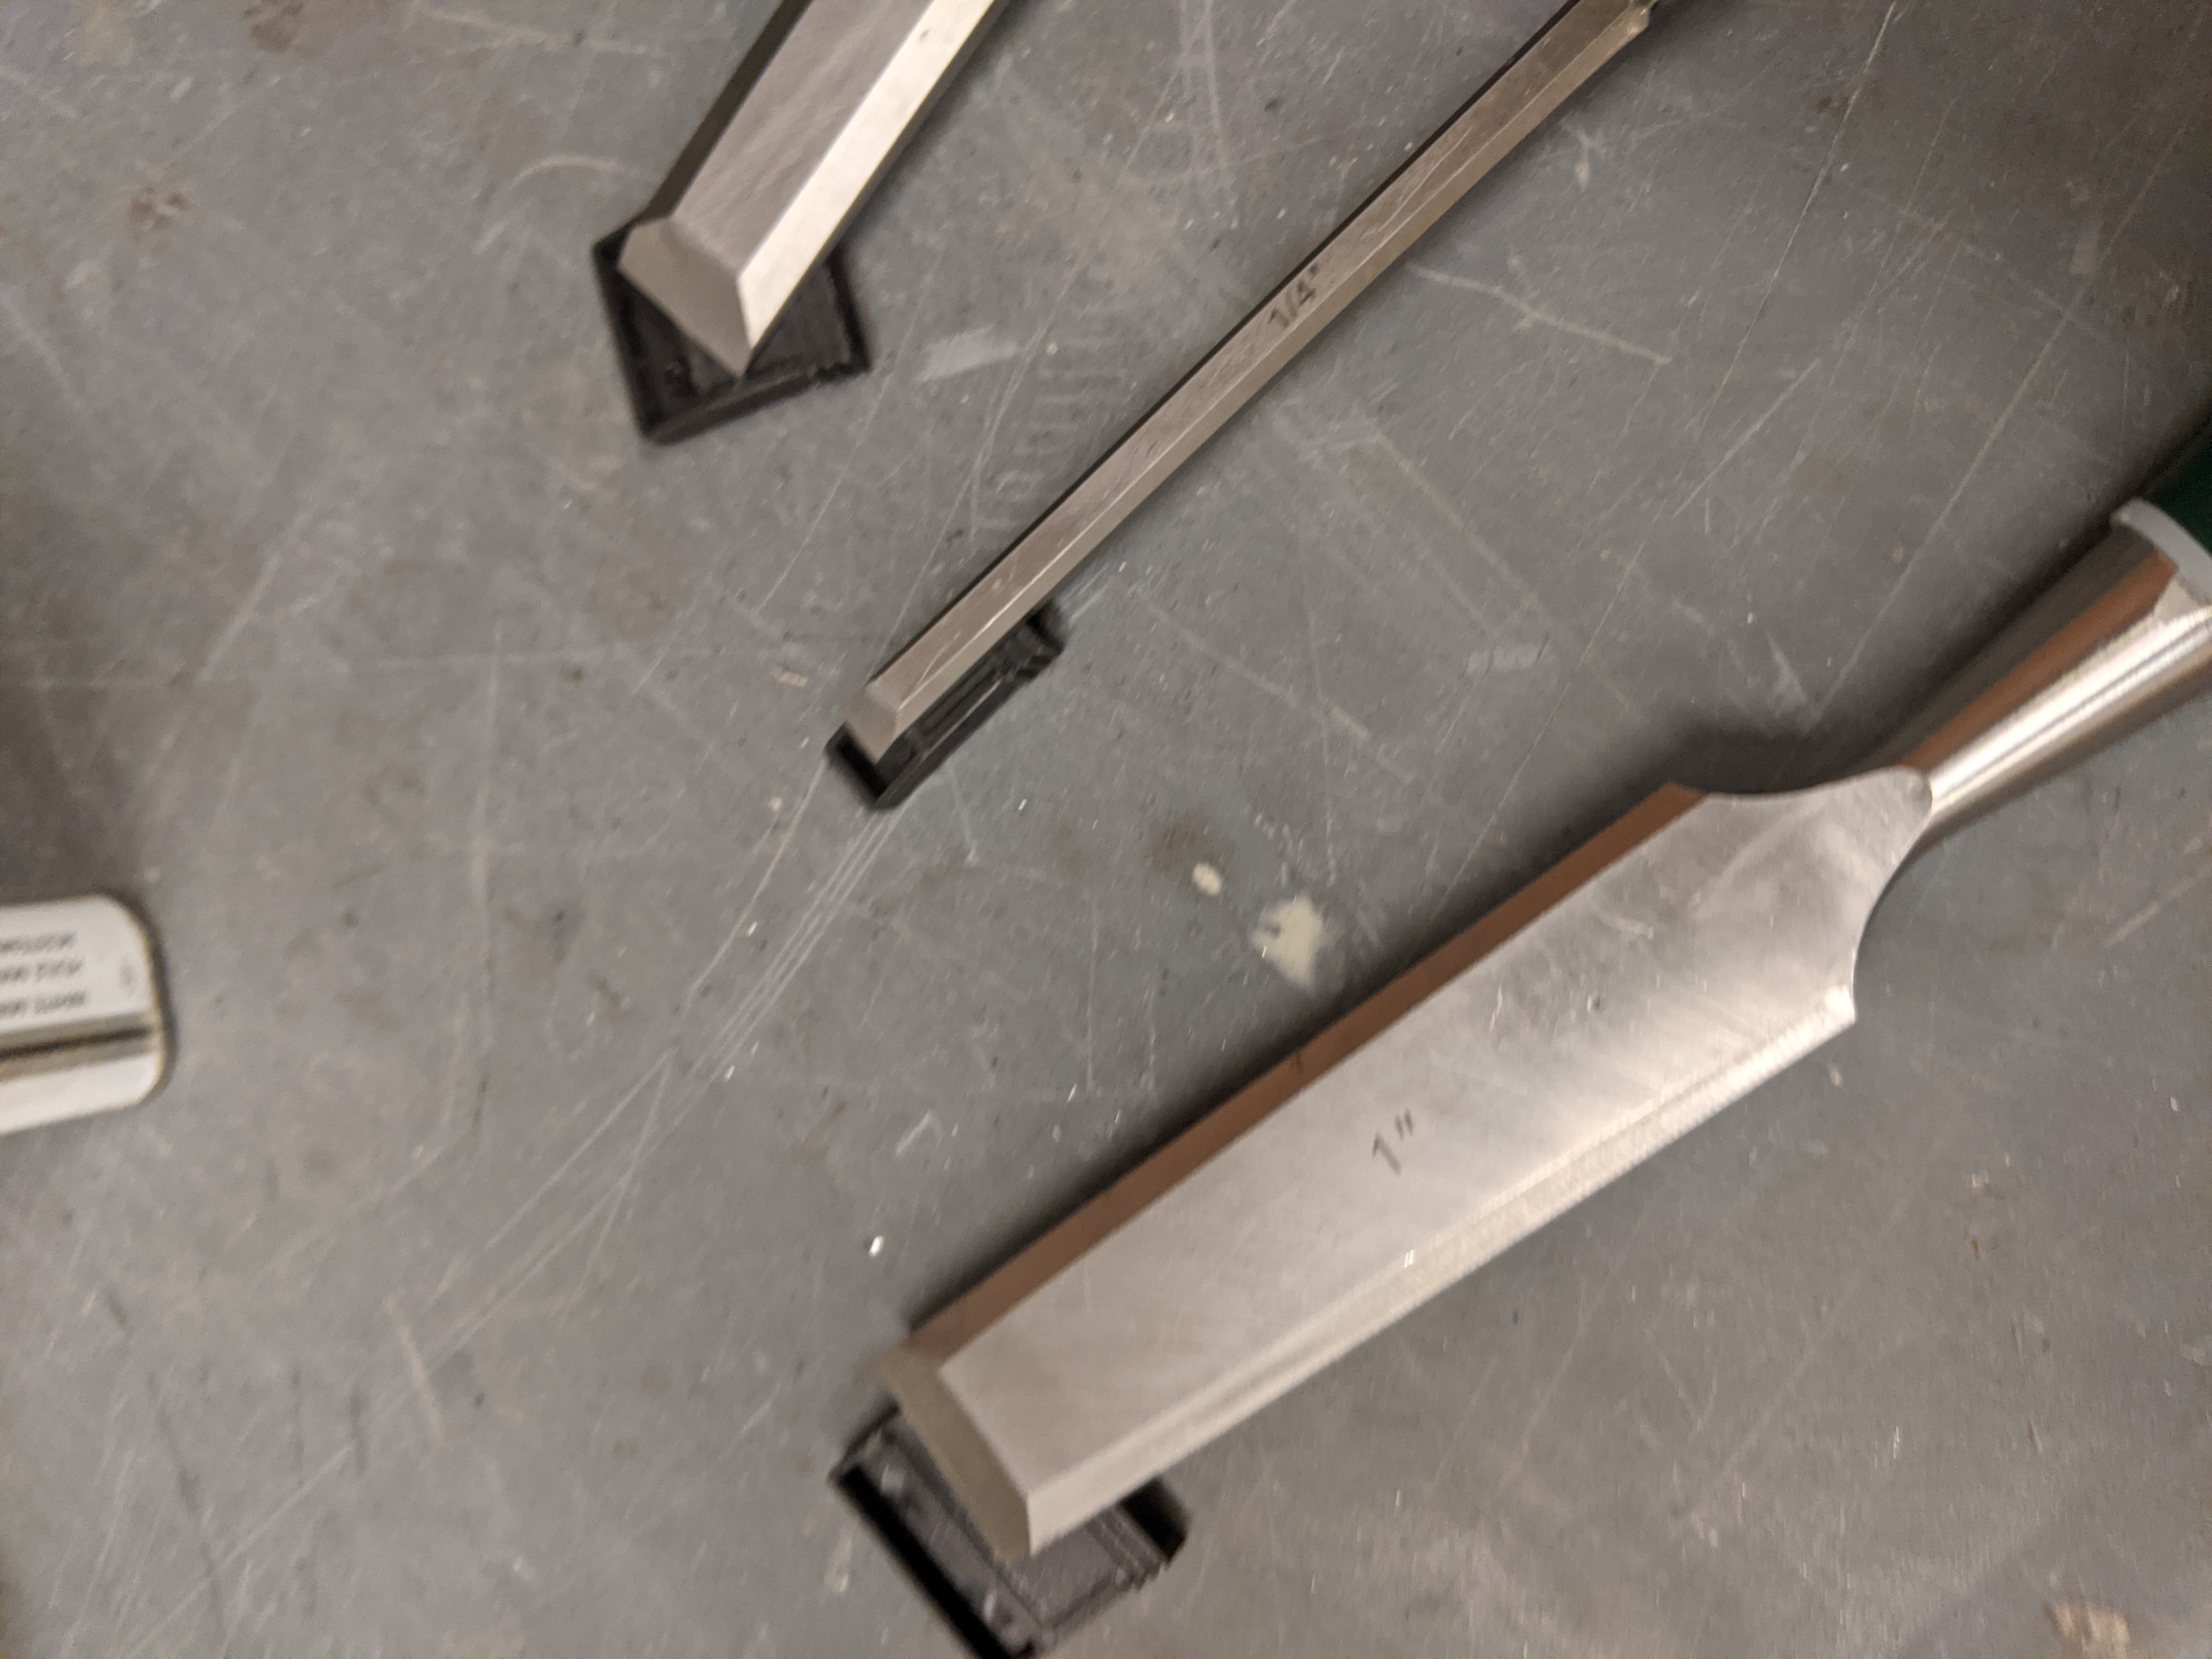
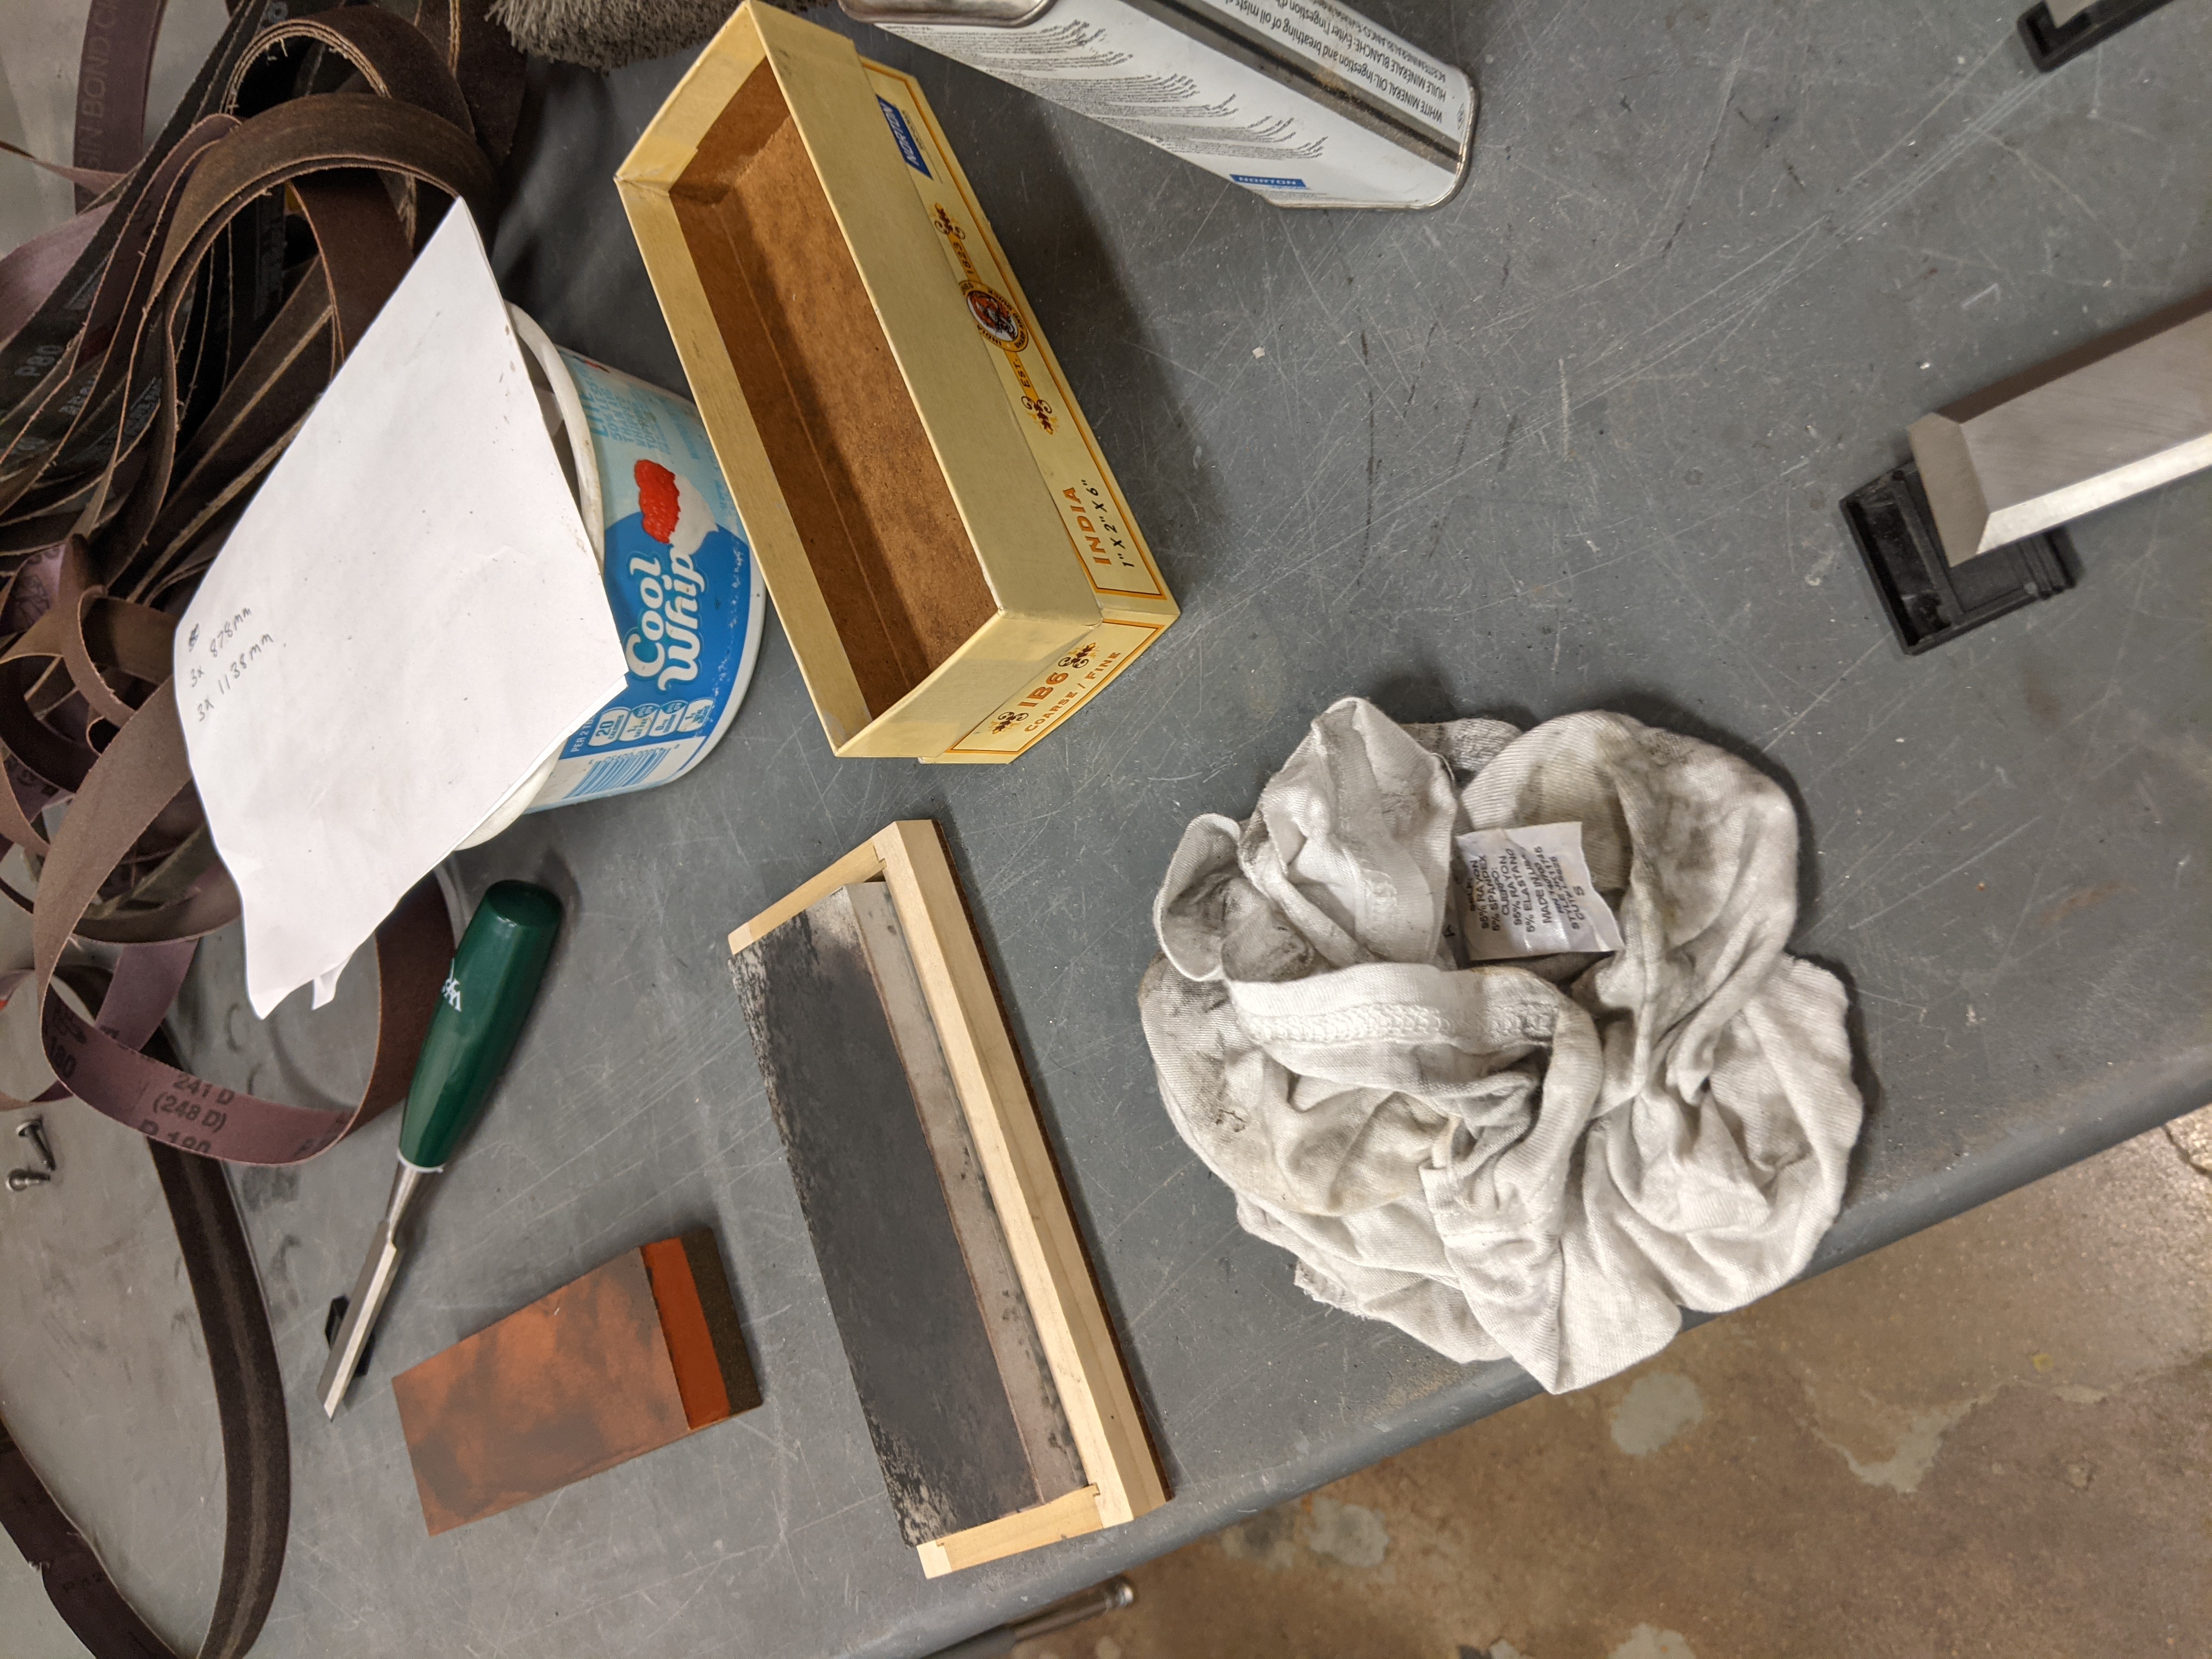

First things: Learn to sharpen my chisels. We went over honing on the rotary grinder, then using diamond, oil, and water stones to finish sharpening. In the end - they were much better.
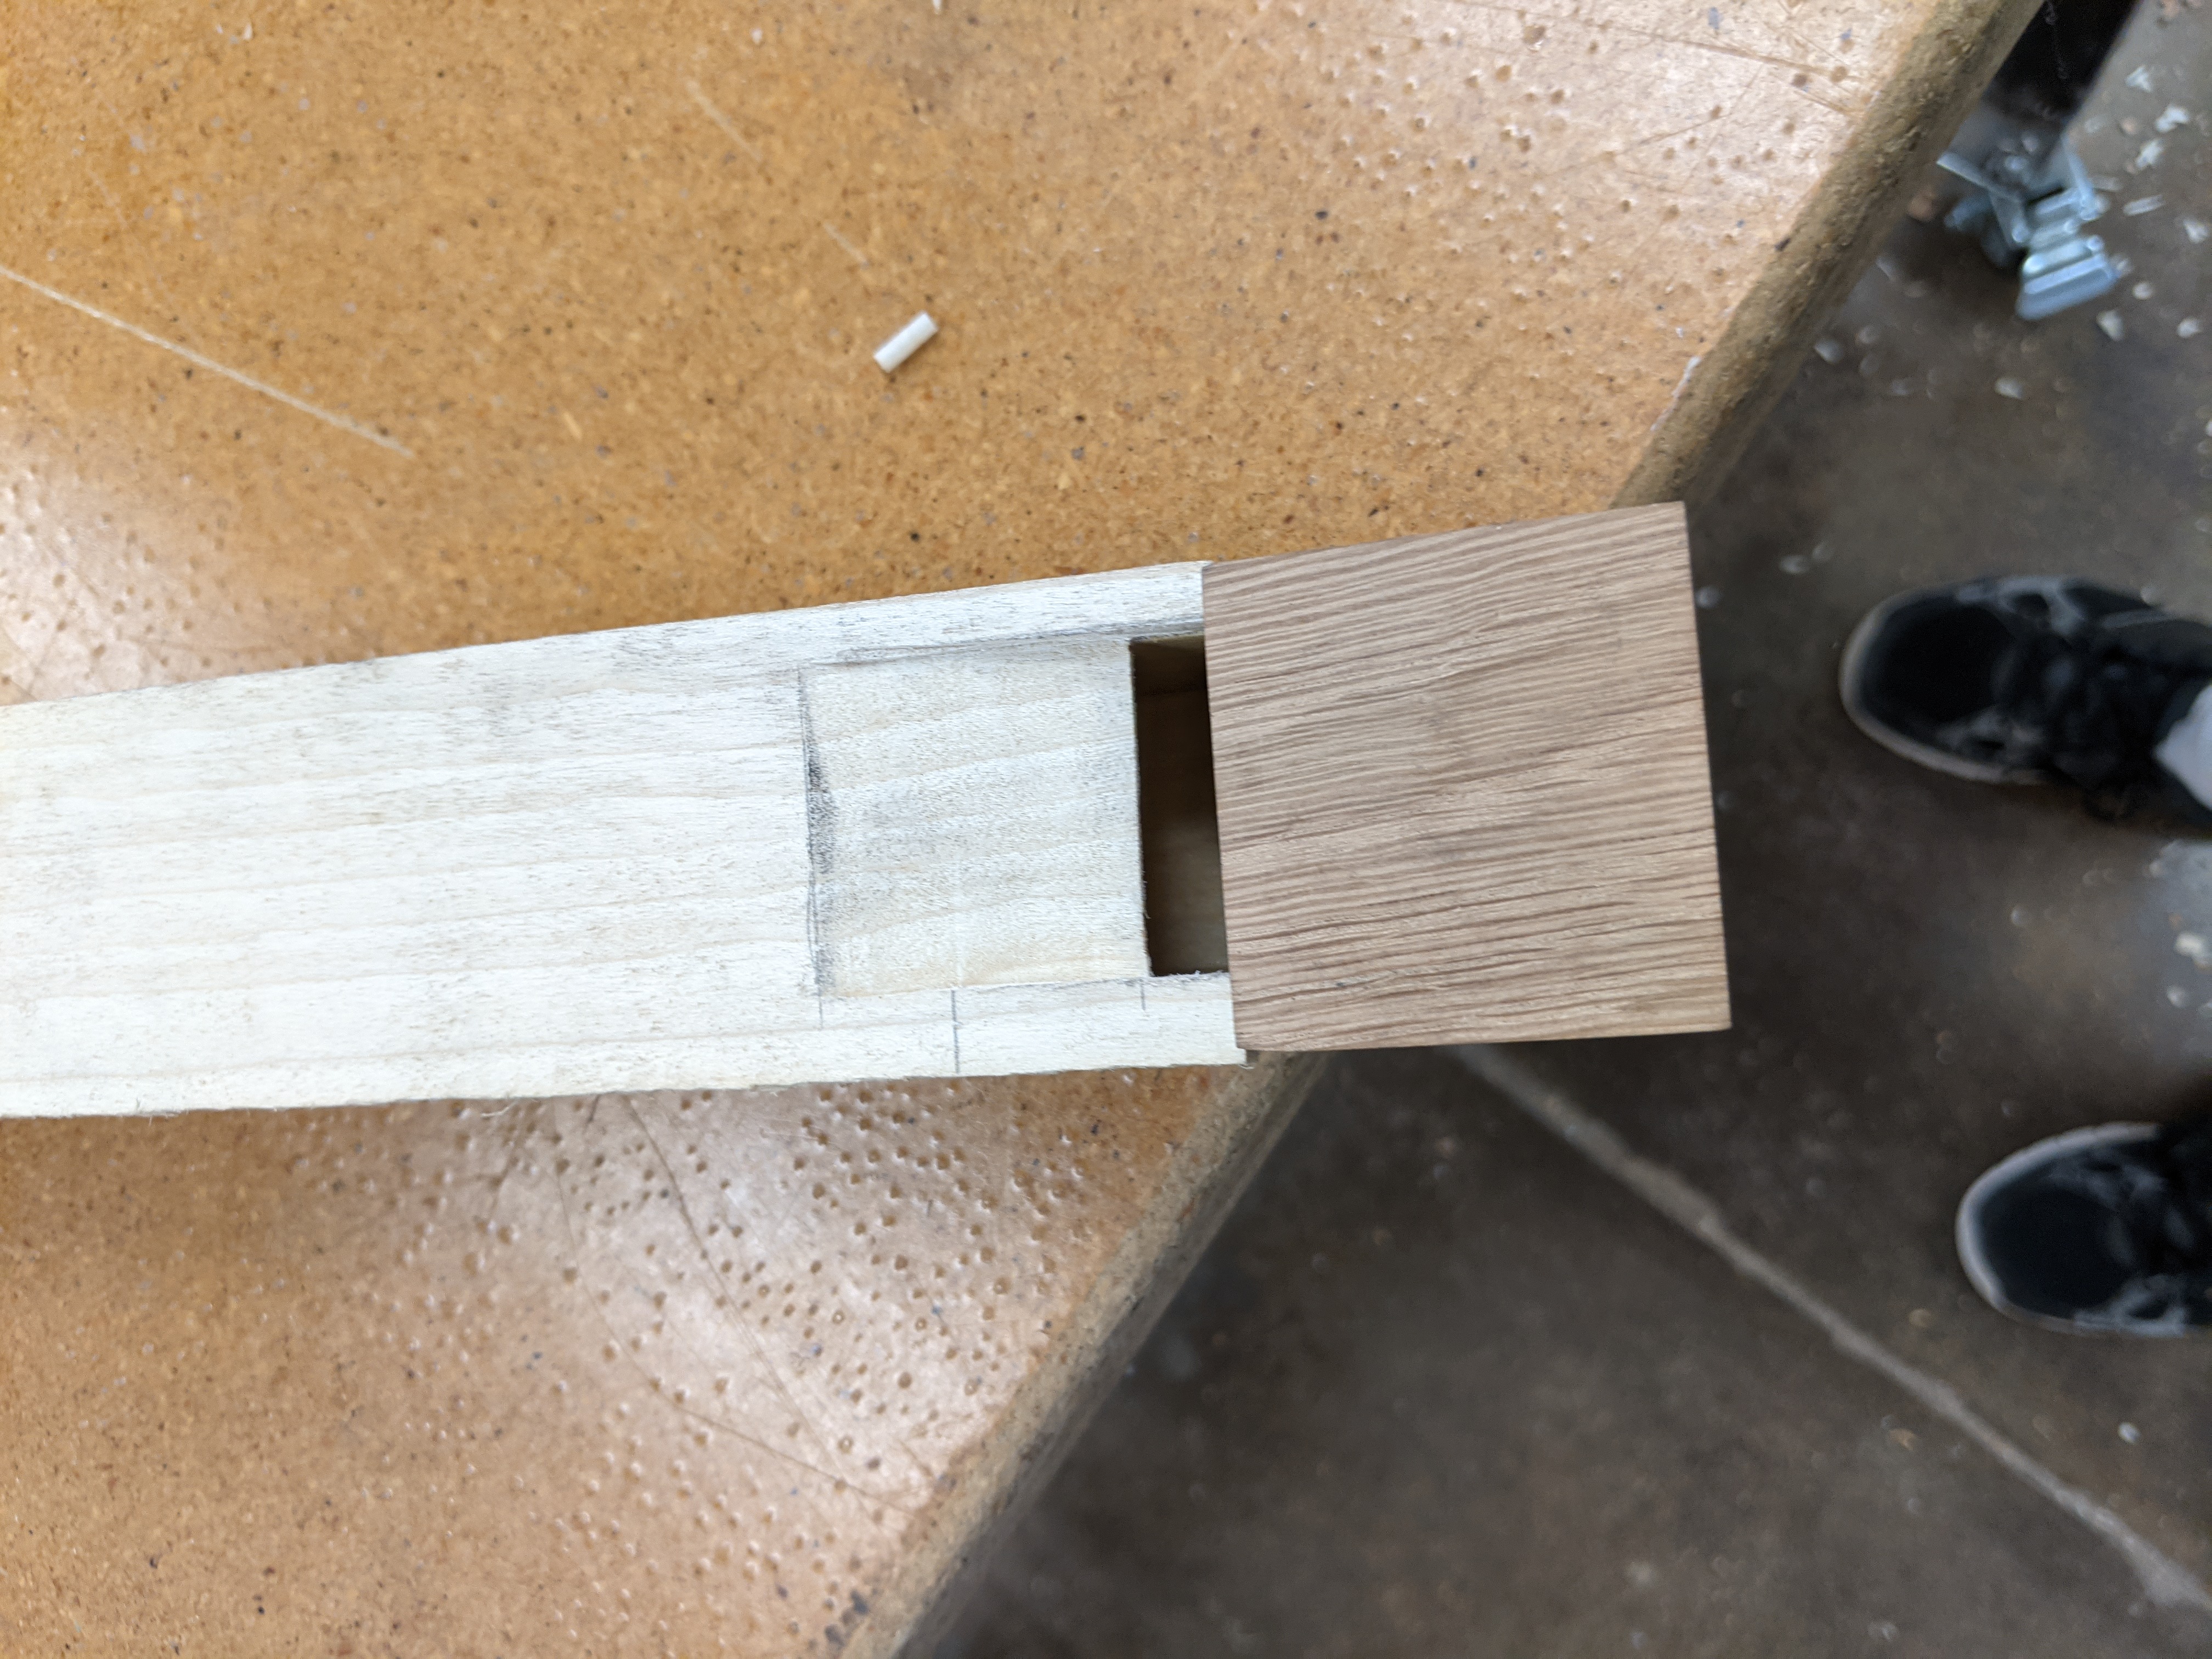
Next, I glued the top face onto the pipe.
And, just for fun before heading off, I lined up the cap to give it its first toot!
Total time: 2½ hours
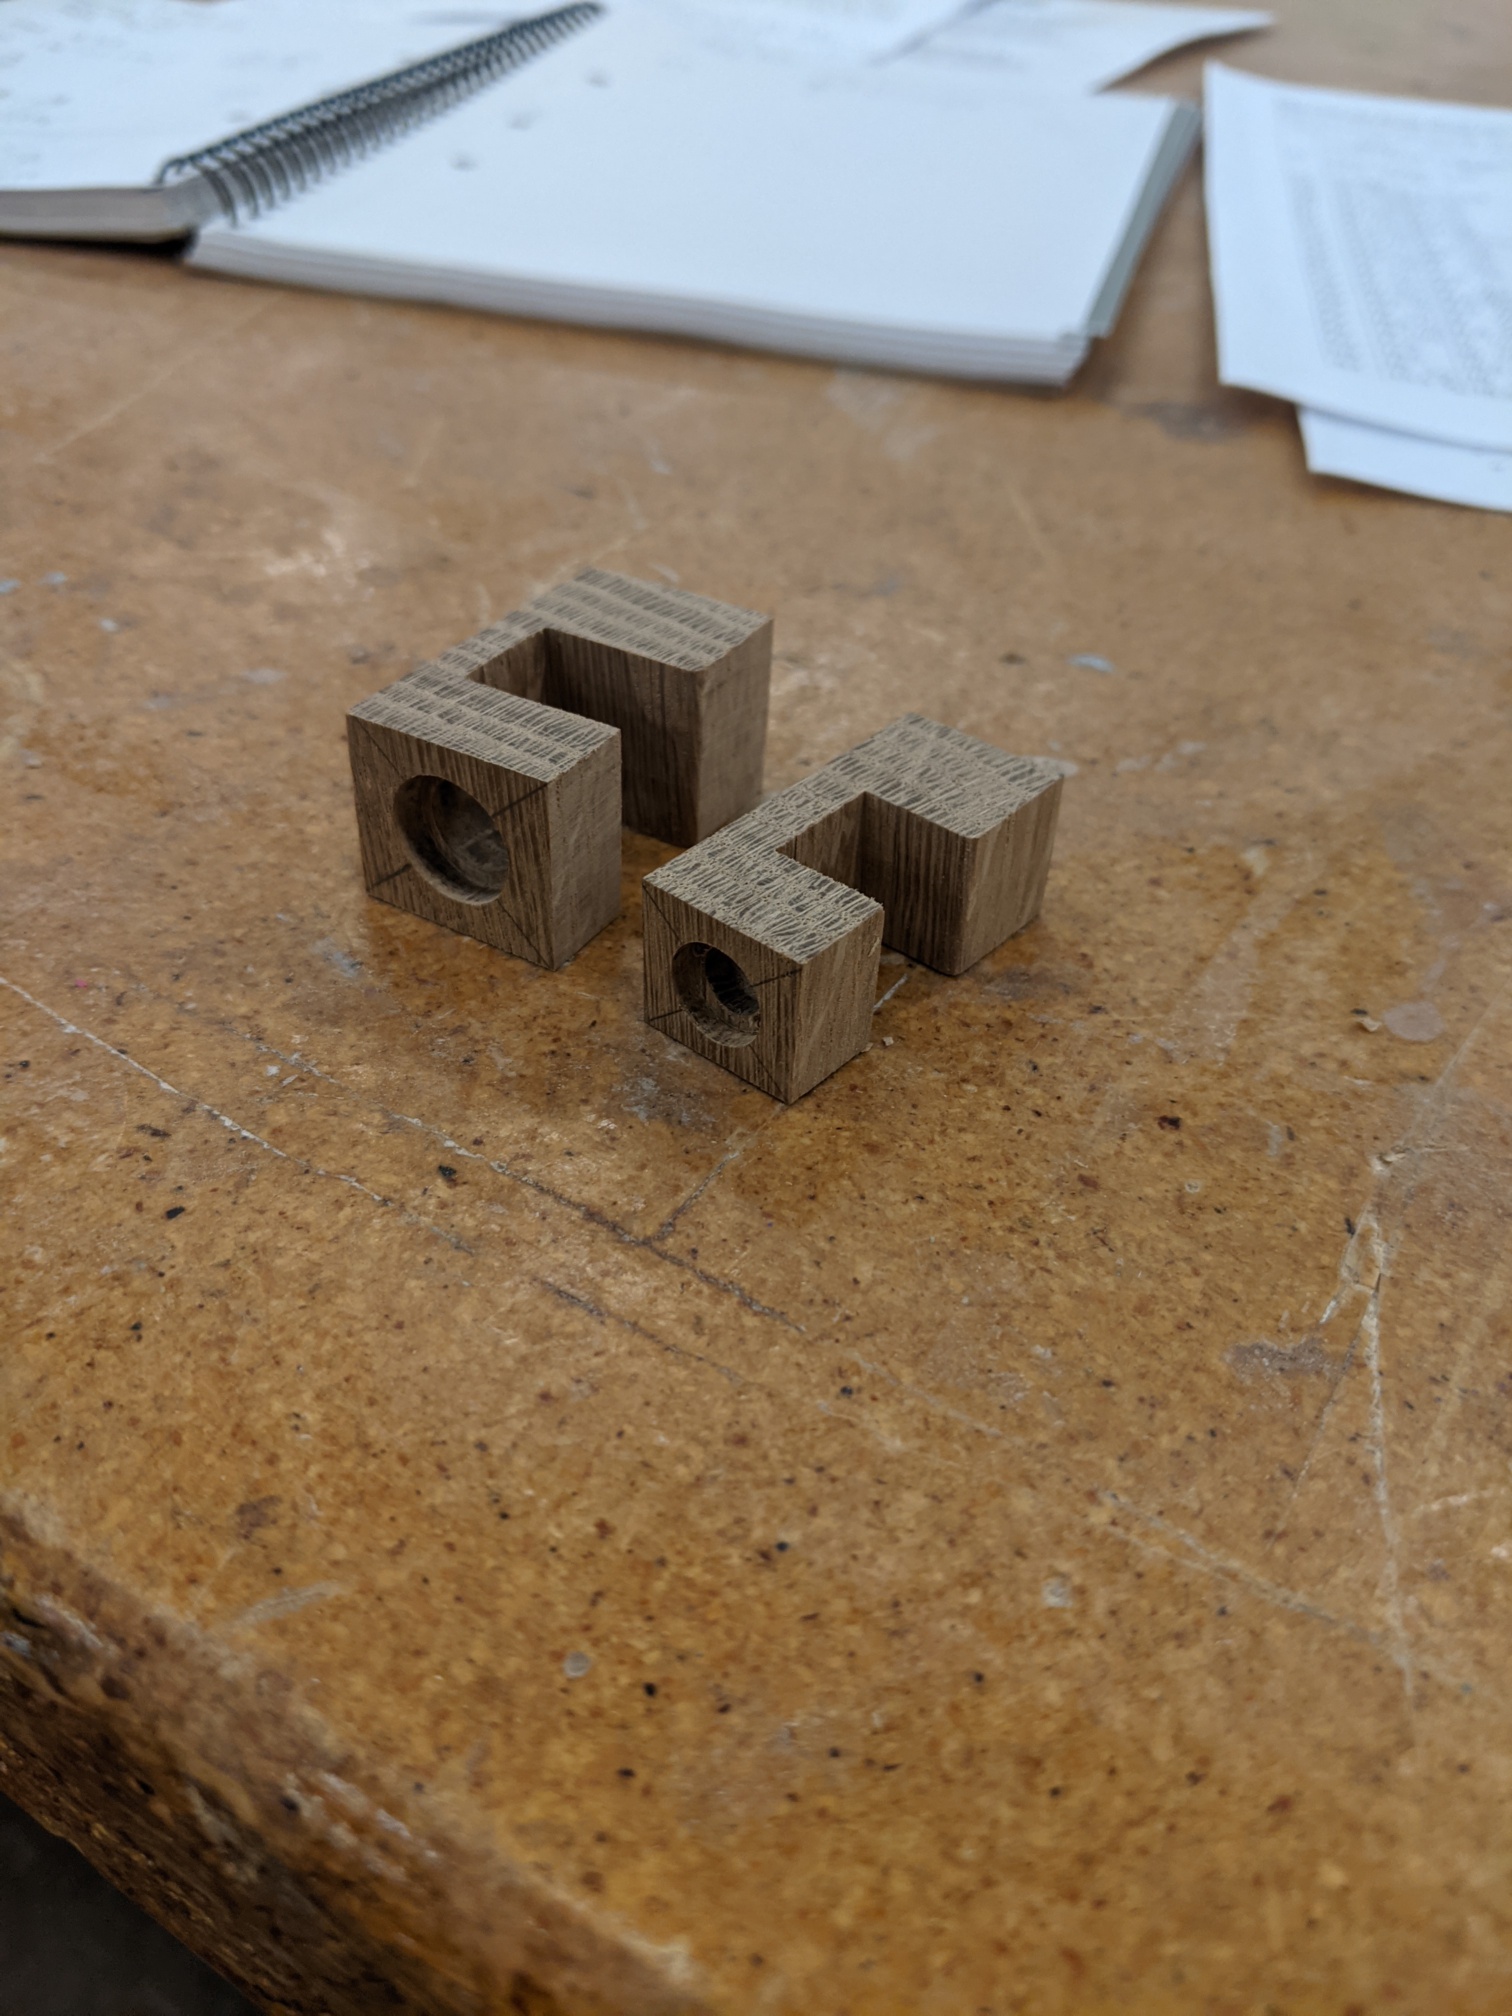
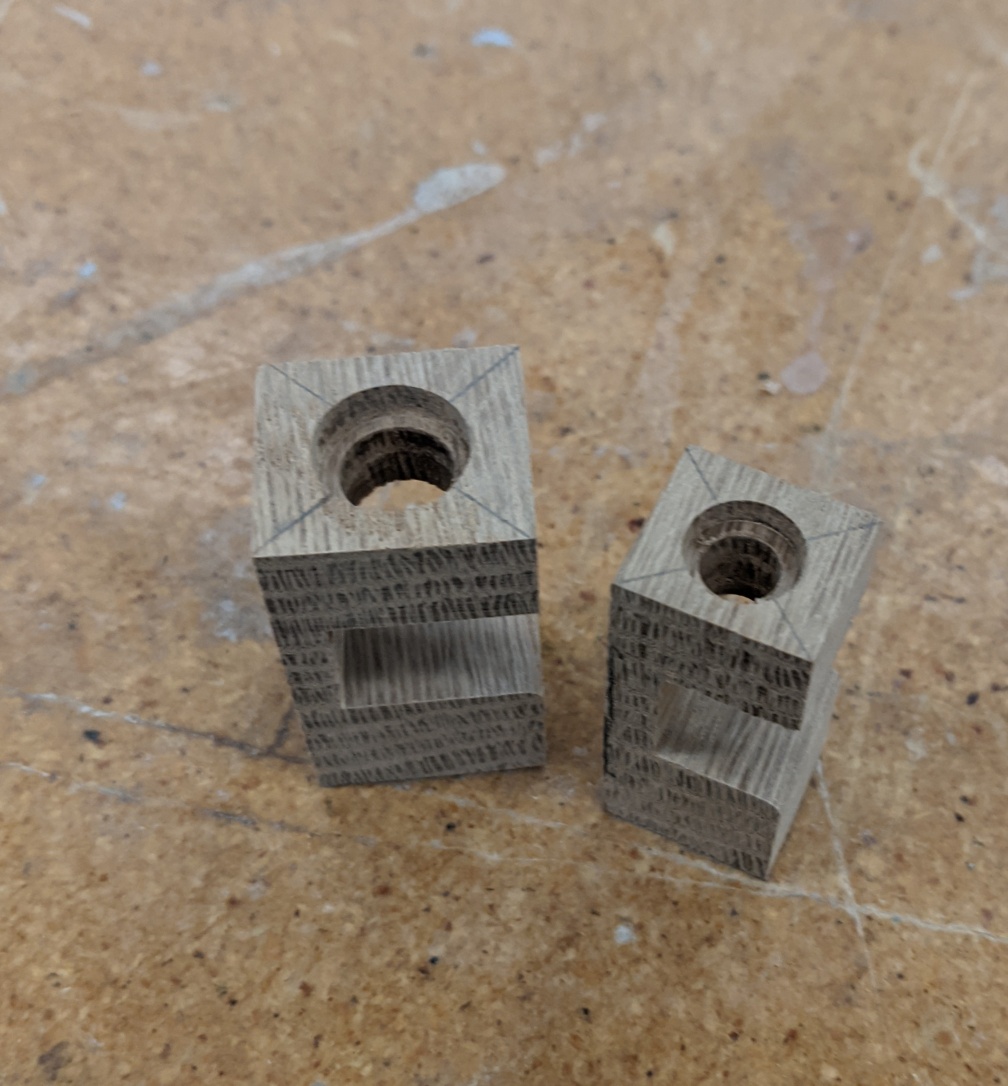
Moving a little faster now. I intended to prepare the blocks for C2 and C3. In fact, I sanded a little too far, so the block for C2 became D2 instead.
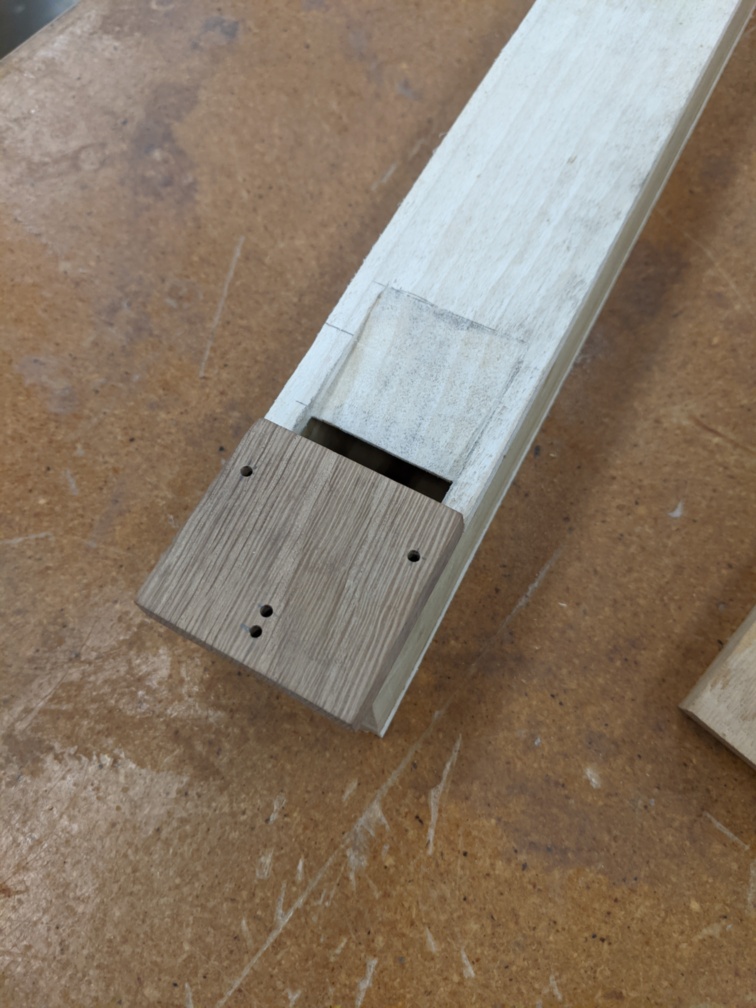
I also cut the stopper off the end of my C1 pipe, and drilled screw holes on the cap. It's not sounding closer to its target pitch, but I need to do a little more sanding under the cap before screwing it down.
Total time: 2 hours
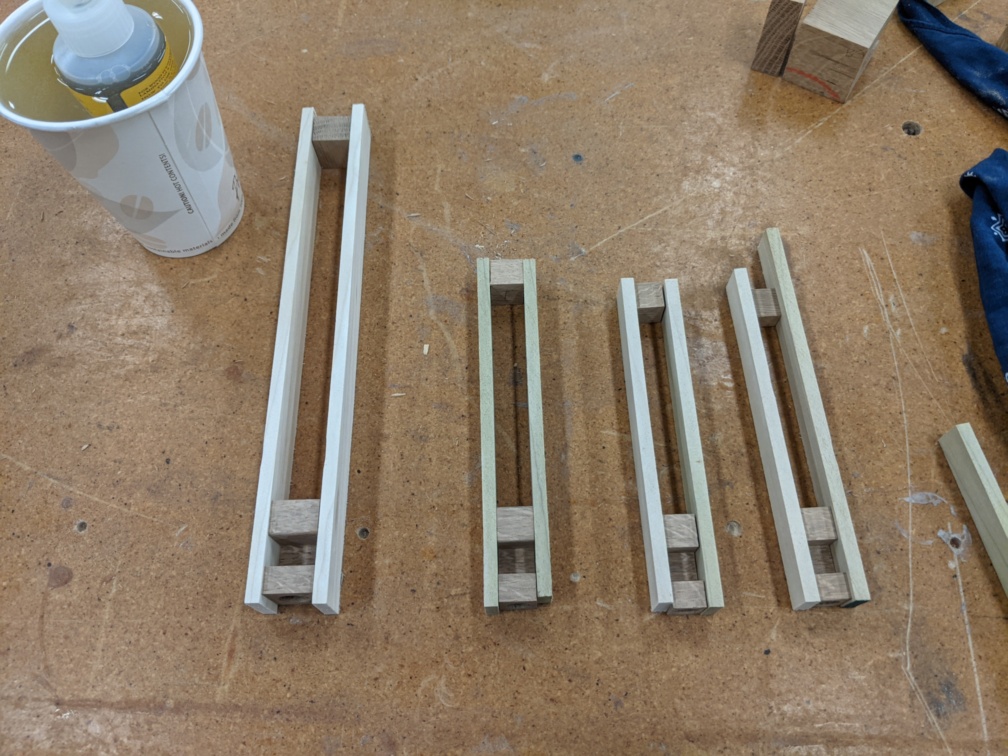
I intended to start the day making the sides for my D2 and C3, but another gentleman was using the planer. So I did two more blocks: C♯2 and D2.
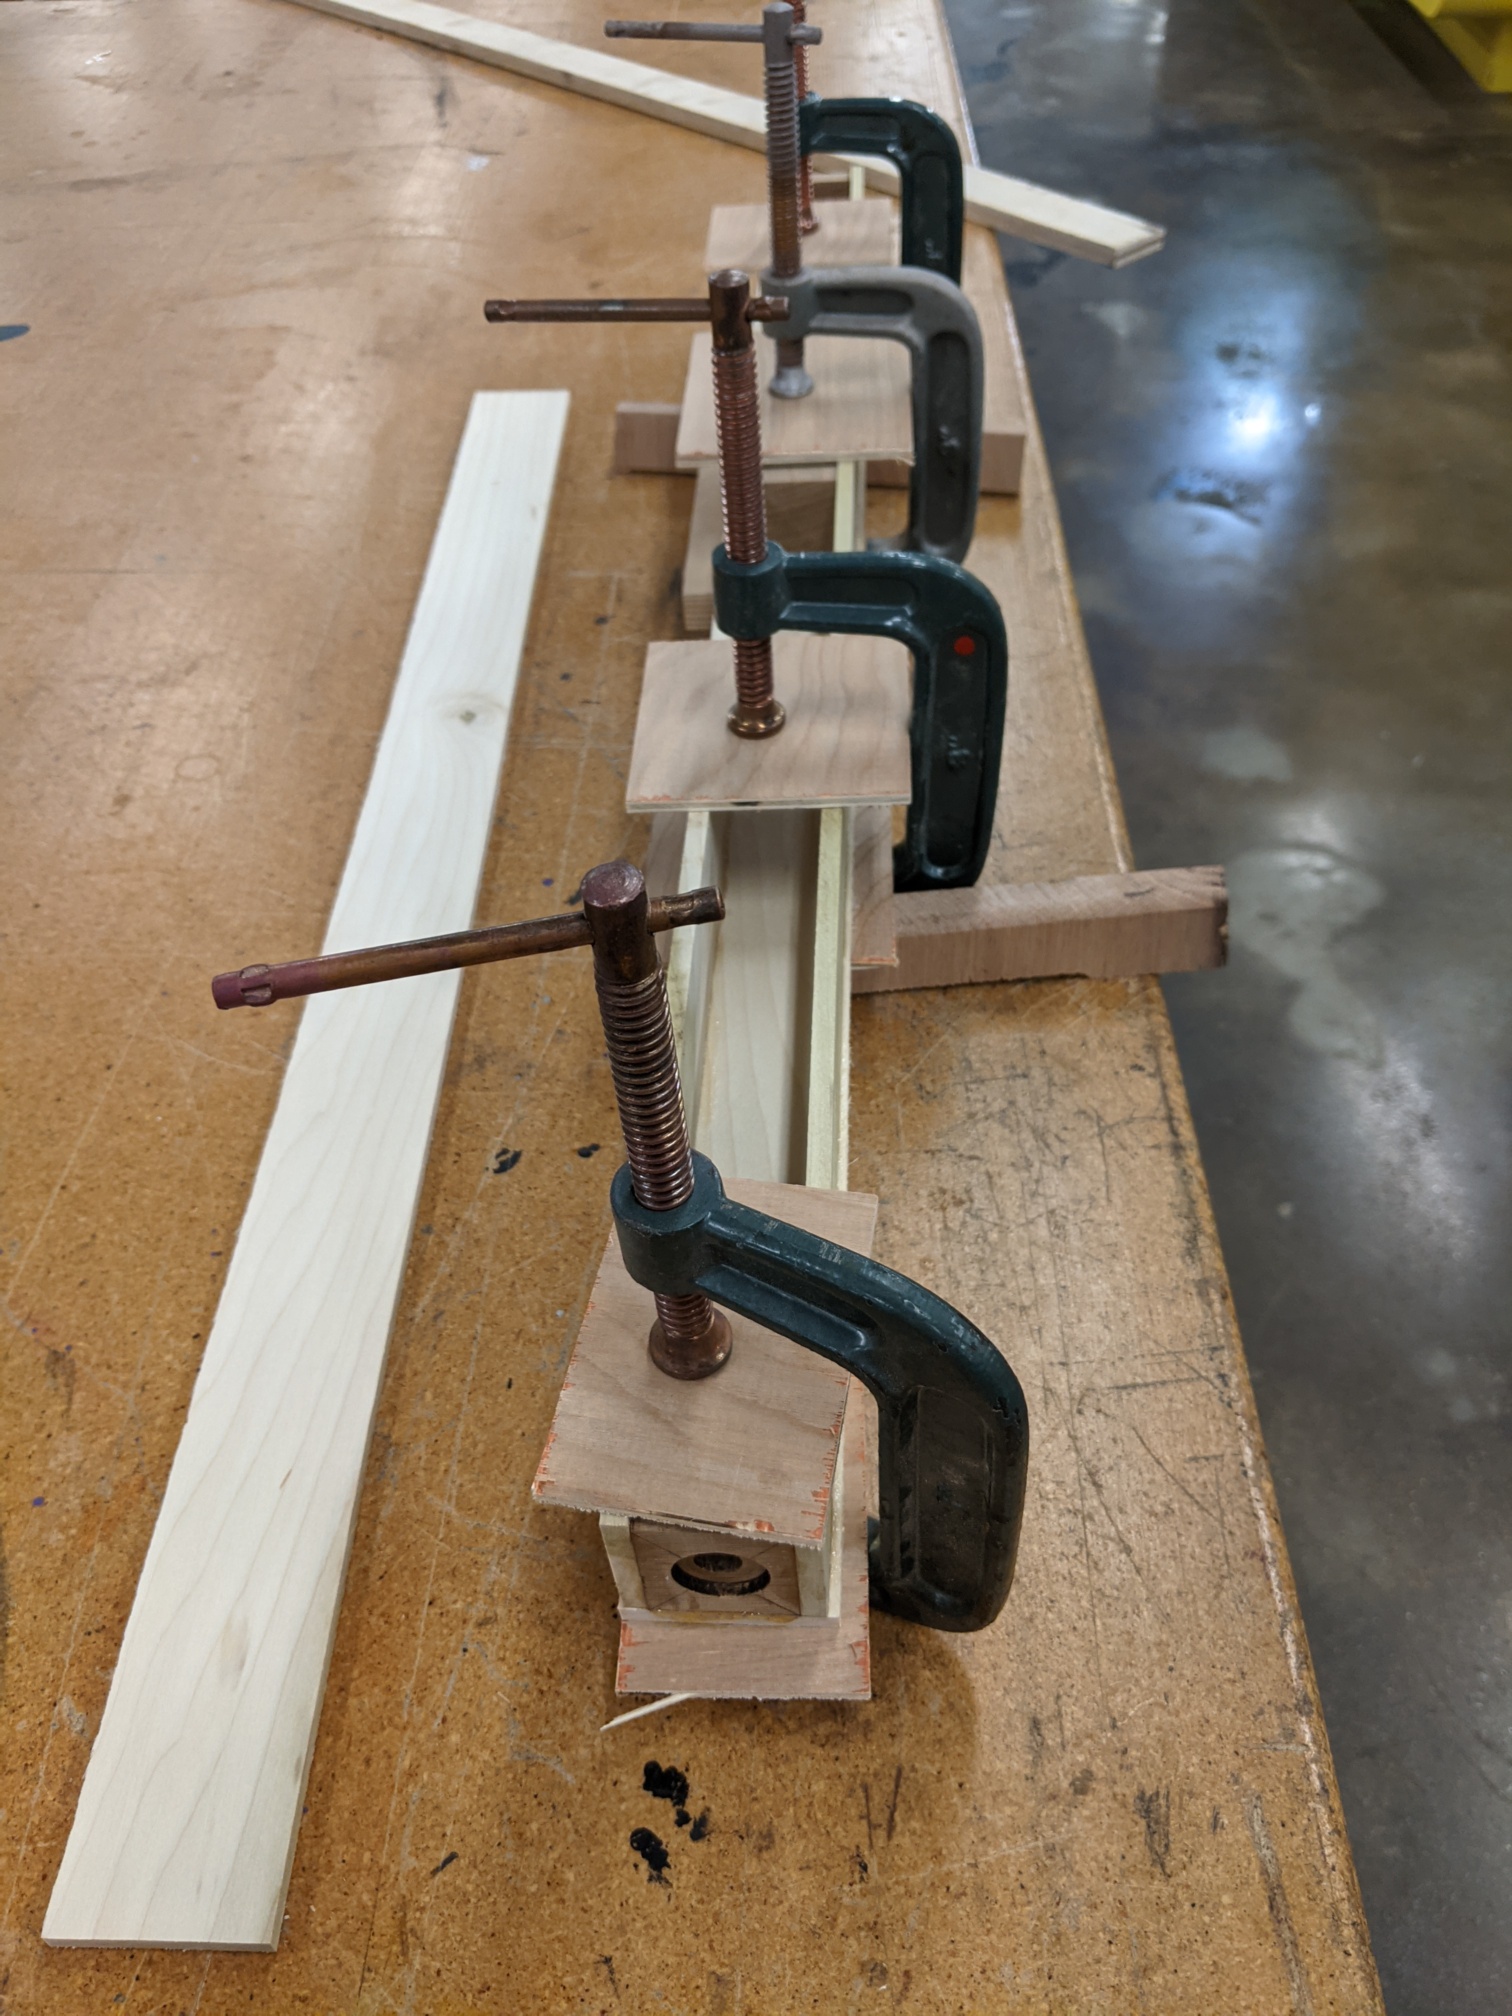
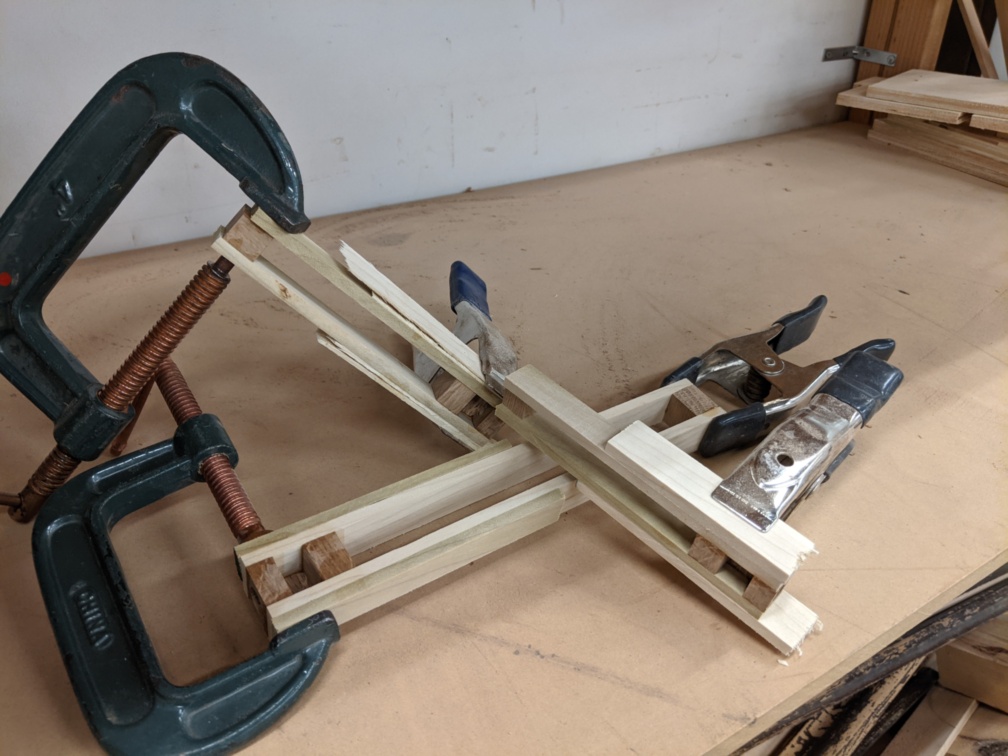
I then got my planer access and cut sides for all 4. Before I started gluing, thankfully, I noticed that someone had used almost all the clamps. So I took what I could, and only got three of them glued.